Followers

Showing posts with label wooden shapes. Show all posts

Tuesday, September 10, 2024

DIY Shiplap Farmhouse Pumpkin Decor

 Hello Crafty Peeps,

I hope y'all are having a great day. Today I am sharing a fun simple project you can make in an hour using the Clear Scraps Wood Shiplap Shape Pumpkin Large size, along with the 'hello Fall' stencil and Maple Leaf Shaker. I have the step by step down below and the video tutorial on my youtube channel. As always the links are down below for you just click on the link it take you directly to the store/product. 

Shaker Maple Leaf                                                 hello FALL Stencil


Lets begin with painting the pumpkin. I combined Distressed Paint antique linen along with some white paint. I used the antique linen with some paste and applied it on smoothing it out as I went around the pumpkin and then cam back in with white paint on top applying it on sporadically. 

For the stem part I painted it using Distressed Paint walnut stain. 


Next I placed down the 'hello FALL' stencil and used my Distressed Oxide ink vintage photo to ink up the words on the stencil. 


Here is what it looks like after stenciling. Looks so good, right? I love it.


Next using the Maple Leaf Shaker you will get 3 frames and the back of the shaker along with an acetate piece. 


Adhere the 2 of the frames together and place the acetate on top of the two frames you just adhered together. The other frame you can paint and you can either paint or paper the back of the maple leaf shaker. 


I painted my back shaker leaf and the frame that is placed on the top of the shaker. I used Stamperia Glamour Gel Dark Wood paint. Once it all dried I placed my shaker pieces inside and adhered the backing on. 


I found this fall bouquet in my stash with some raffia and tied it to the stem and adhered the flower on and the adhered the Maple Leaf Shaker on next to the stenciled 'hello FALL'. 


Here is the finished Farmhouse Pumpkin Decor. I tied the little bouquet around the top with Raffia and hot glued the flower. I just love how this turned out with the maple leaf shaker adhered to the hello FALL. 


I  hope you enjoyed today's step by step tutorial. This Farmhouse Pumpkin turned out so good, and I really like it cause it was so simple and quick to create. This shiplap pumpkin comes in a variety of sizes, plus you can find many other shiplap design shapes in the Clear Scraps Shop. 

Thanks for joining me today.
Happy Crafting my Friends, 

Join us one facebook and instagram for more inspiration. 

https://www.facebook.com/ClearScraps

https://www.instagram.com/clearscraps/


Wednesday, February 28, 2024

Our Happy Hive Home Decor

 Hi everyone, 

It's Debbie here with another fun project using Clear Scraps products. Today's project is going to be a fun wall hanging for spring. You can even place this DIY Wooden Bee Hive on a wreath, there are so many ways to use this cute Bee Hive Shape. I also combined this cute little Chipboard Gnome with this Bee Hive, he turned out so cute. Let's get started. 


Here are the supplies you will need for today's project. 

Chipboard Gnome                                 DIY Wooden Shape - Bee Hive


To get started you will trace the bee hive shape onto a pattern paper or card stock. 
Place the cut out on top of the wooden bee hive do not adhere down yet. 

Once you lay the paper on top of the Wooden Bee Hive find the lines in the wood, get a bone folder or scoring tool to create score lines on the paper. Score the top line, second line and the doorway line. 


Once you are done scoring your paper cut along the score lines. 


Here is what your papers will look like once you cut them a part. 


Next ink the the wooden shiplap areas. I used ground espresso ink


Adhere the bottom piece first and then adhere the middle, then the top piece to the Wooden Bee Hive


Once you adhere your pieces to the wood turn over and cut away any excess paper that are over the edges. 


Here is what your Bee Hive should look like once you have adhered your pieces one. I then inked the edges around the entire Wooden Bee Hive with ground espresso ink. 


Next we are going to start on this cute Chipboard Gnome. For his little hat I tranced it on a pattern piece of paper, cut it out and adhere down. 
For the beard I used a piece of car waxing clothe from the Dollar Tree. I thought this would give him a great little beard. 


Add some glue behind the beard and set it down on top of the clothe and then cut around it. 


After I cut around the clothe I added some white flower soft on to the chipboard beard. 


For the little nose I used my scoring tool and traced around the the nose to get the dimension I needed so I could color the nose and cut it out to correct size. As you can see off to the right side I did draw a nose a few times but the nose was too small. 


After you color in the nose and cut out adhere the nose down. 


Next I decorated the chipboard gnome hat with a little flower and honey bee. 


Here is the finished DIY Wooden Bee Hive. I decoration it with some flowers from my stash along with the some of the stickers from the paper collection and adhered the little Chipboard Gnome down on bottom left hand side.  I think this turned out so cute. 


I create hole on the top portion of the Bee Hive so I could hang this on my door.


I hope you enjoyed today's step by step tutorial. I had so much fun created this Wooden Bee Hive and it was so fast and easy to create. I have the links above and below for you and links throughout the post just click on the name of the product and you will head over to the Clear Scraps Shop. 

Wishing you a great day & Happy Crafting


Chipboard Gnome                                                           DIY Wooden Shape - Bee Hive


Wednesday, September 20, 2023

School Days Layout

Hello All,

I hope you all are having a great day. Well seems temps are dropping a bit here in Texas, still hot but not as hot as it was a few weeks ago. With that being said kids are back in school and Fall is approaching soon. For today's project I have a scrapbook layout using the Wood Shapes School Apple Shapes from Clear Scraps. 

I really liked using the wooden school and apple in this layout, such a simple addition that adds a great texture and focal point in the layout. I had fun painting them and adding them to the layout. Down below I have a step by step on how I created this cute layout with using the wooden school and apple. 


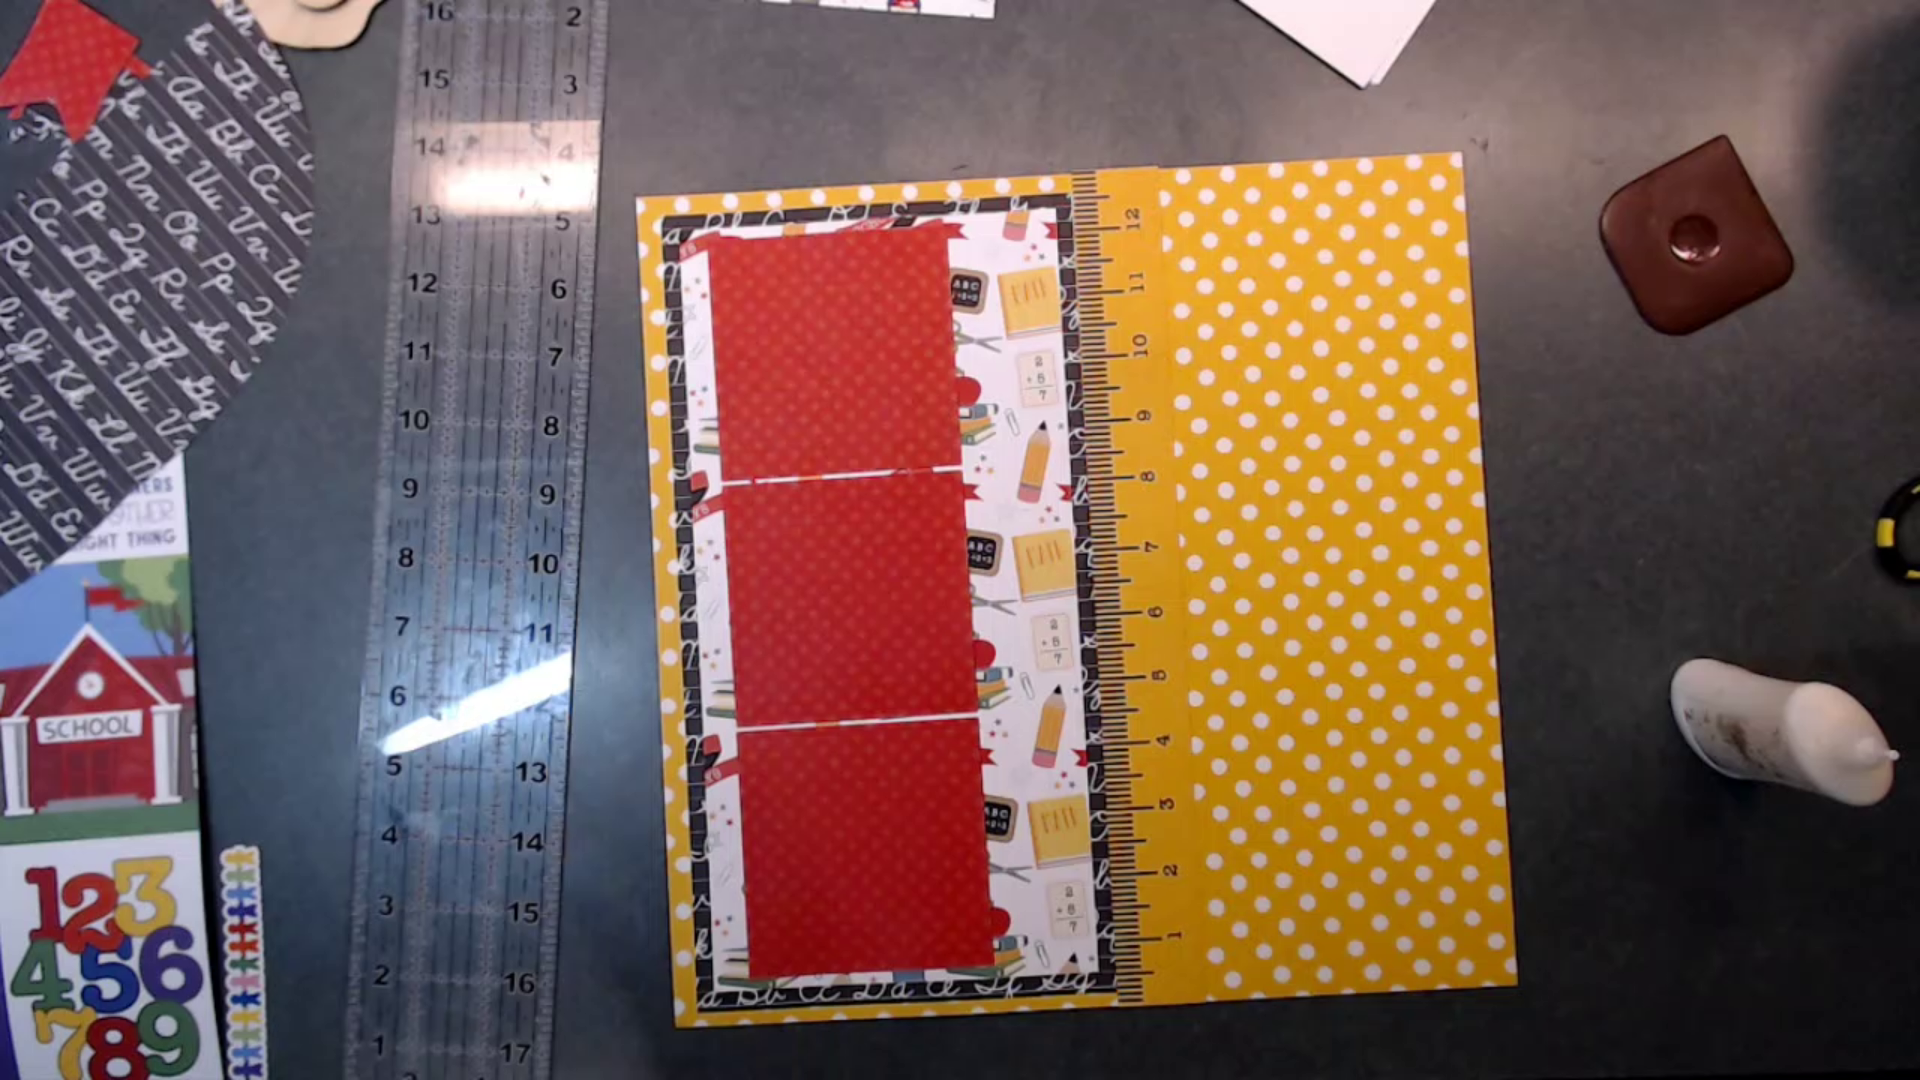
So let's get started. To start off I have listed below the measurements you will need for each layer. You can view picture above and photo below to see all items needed for the layout. 

1 - pattern paper 12x12

1 - 12x12 pattern paper cut half circle 

1 - 6 x 11 1/2 pattern paper

1 - 5 1/2 x 11 pattern paper

1 - 5 x 7 pattern paper

1 - 5 1/2 x 7 1/2 pattern paper

3 - 3 1/4 x 3 1/4 photo mats (white paper)

3 - 3 1/2 x 3 1/2 base for the photo mats, pattern paper

3 - 1 1/4 x 1 1/2 top layer to the small banners

3 - 1 1/2 x 1 7/8 bottom layer to the small banners

On the left hand side of the 12x12 pattern paper lay down the 6 x 11 1/2 pattern paper first and then place the 5 1/2 x 11 pattern paper on top. I added the ruler border from my paper collection but you can and border you have in your stash. 


Next take the 3 pieces of pattern paper measuring 3 1/2 x 3 1/2 and adhere them down on the left side of the layout. These pieces are your base for your photo mats. 

Create the small banners, as seen below, you will layer the smaller size on top, 1 1/4 x 1 1/2 , of the larger size banner, 1 1/2 x 1 7/8 . 


Adhere the small banners to the side of the red base photo mats. 


Next adhere the half circle that you cut from 12 x 12 paper and adhere that piece down next to the border. Adhere the 5 x 7 inch mat on top of the 5 1/2 x 7 1/2 inch mat, then adhere on the side on top of the half circle. (see below)


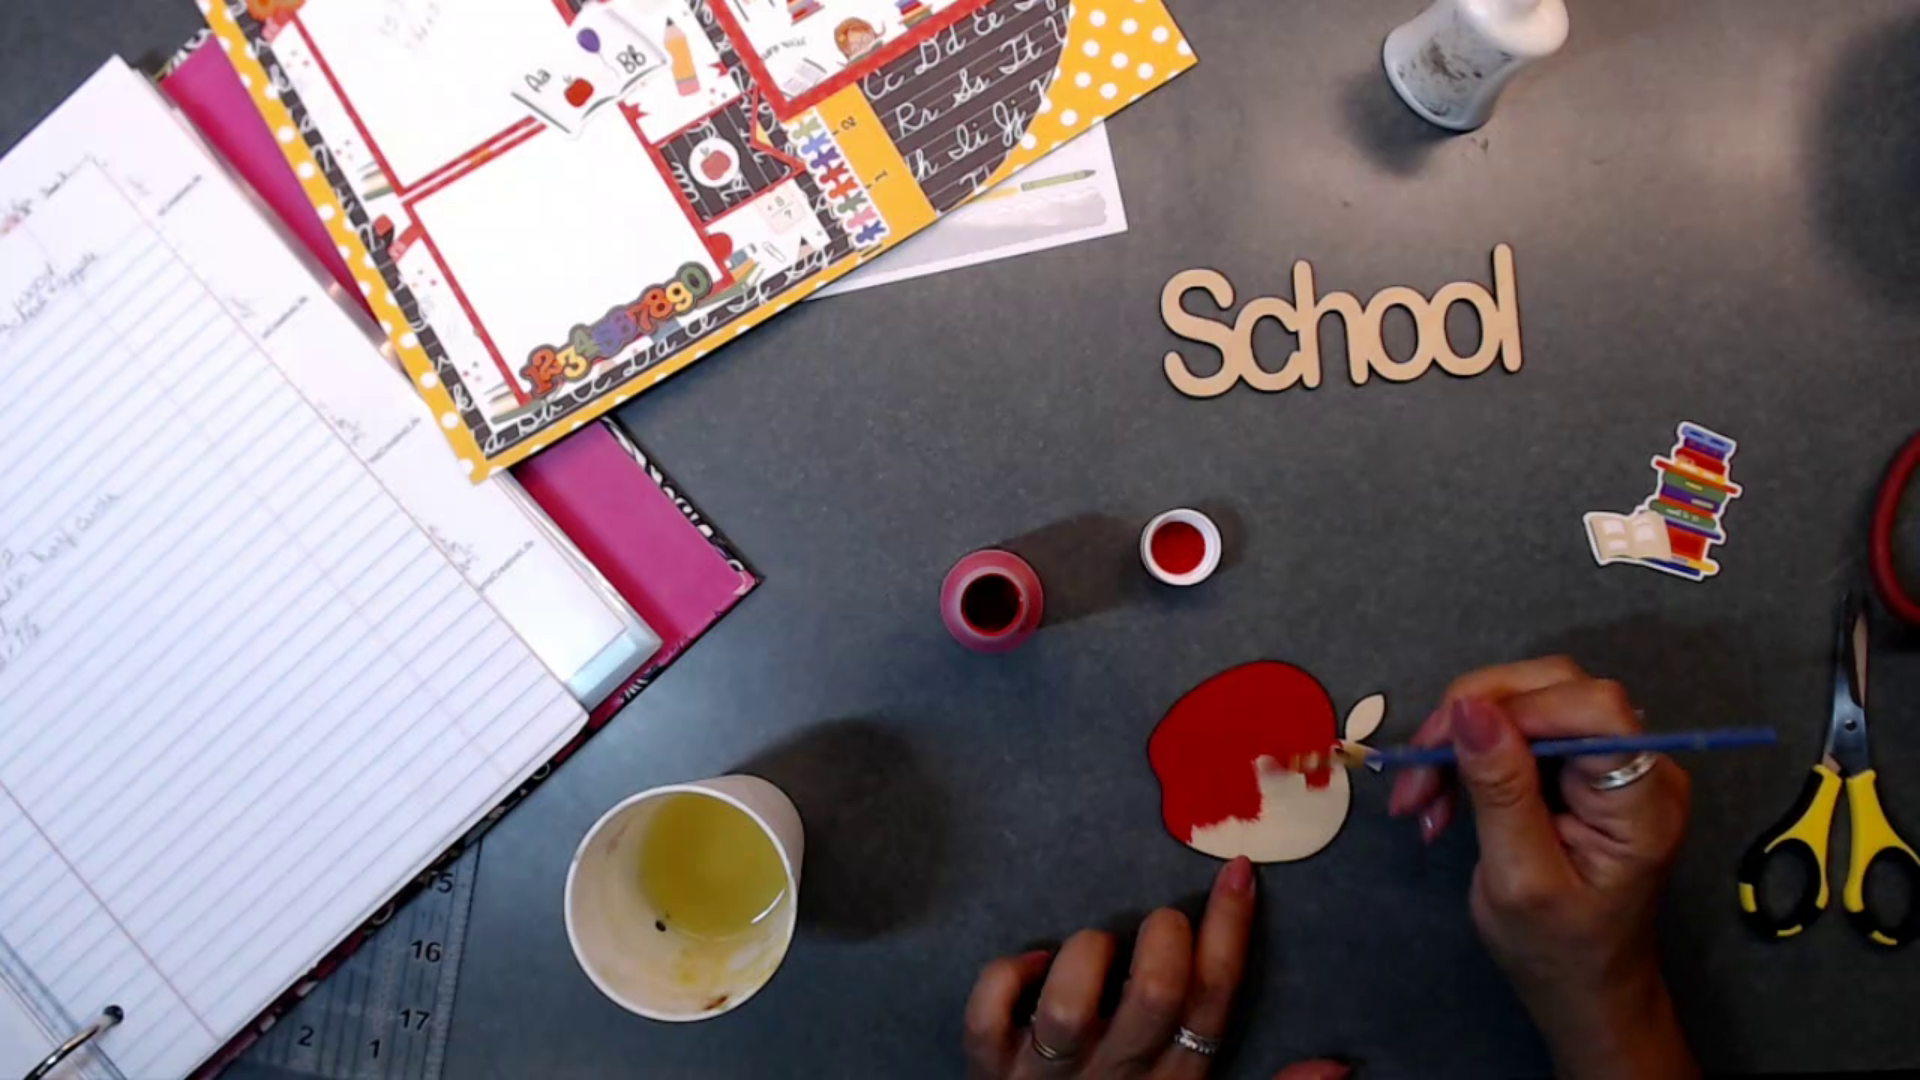
Next we are painting the apple and school word


I took some of the stickers from the paper collection and added them around my layout. I placed a sentiment and books on top of the apple next to the little girl reading. I adhered down the wooden school word at the top of the my 12 x 12 page next to the Day's banner in the right hand corner. 


Here is the finished photo of the layout. I did add a few little lines to the word. 


I have the link for the Wooden Shapes School Apple listed below that I used from Clear Scrap. Please head on over to the store to check out their awesome selection. 

Thanks again for joining me.

Happy Crafting.

Debbie 

Links

Wooden Shape School Apple - https://www.clearscraps.com/ProductDetails.asp?ProductCode=CSWf3Dschoolapple