Today, we are brewing up some spooky creativity with three fun, interactive Halloween cards that feature movement, dimension and plenty of charm! From interactive flip folds and shaker windows filled with spooky sprinkles to delightful gatefold reveals, these cards are perfect for sending extra festive Halloween greetings to friends and family. All of this and more using the 2026 October Card, Tag and More Kit from Tres Jolie.
I have the step by step down below for you and as always the video tutorial for you to view. Thanks for joining me.
To create the shaker I used the frame and the witch from the ephemera packet and then I used the background cut from the cut a-part Post Card sheet from the pattern paper pack. I cut acetate and glued behind the frame, added some then foam tape and shaker bits from my stash.
I used a regular A2 card covered the front using the pattern paper from the Graphic 45 paper pack. I adhered the shaker to front of the card and then added the embellishments around the card from the ephemera packet.
Here is the finished card. I really love how this turned out. Using the various colors of shaker bits added a nice contrast of color.
Card 2
For this fun pullout popup card - Cut 1 pc of cardstock at 6 1/4 x 4; Score at 2 3/4 inches
Cut 1 pc of cardstock at 7 1/2 x 5 1/2 inches; With the cardstock payer at 7 1/2 inches Score at 3 1/8 inches; Turn to the 5 1/2 inch side, Score at 3/8 & 1/2 on both ends.
******************For More Details View Video Tutorial**************
Now you can paper the front of your cards.
******************For More Details View Video Tutorial**************
Next cut a piece of cardstock 2x2 and Score at 3/8 inches on both ends.
Next on one side where we just scored 3/8 inch place some glue on that small flap.
Adhere the small flap with the straight edge to the fold of the small card that will fit inside the larger piece. ******************For More Details View Video Tutorial**************
Now you have the the other small flap facing up toward you with the small fold facing away from you, once you add glue to the flap, fold the larger flap above down on top matching up the edge of the large flap and the little mechanism. (View bottom photo)
******************For More Details View Video Tutorial**************
Here is the larger flap lining up with the edge of the little mechanism, be sure to burnish down the middle part so the small flap with adhere to the large flap from the inside.
Here is the finished Card. I added some of the ephemera from the die cut pack and stickers as well. I painted the chipboard ghost with white gesso and then added white paint. I then took some white flock and placed it on top, let dry, inked black memento ink around the edges. I used a black marker or the eyes and mouth and some pink ink to create the little pink cheeks. I used the orange corner stickers as a pull down mechanism.
Card 3
For the last card you will need 3 pieces cut at 4x6 inches. Place one to the side and score the other two pieces at 1 1/2 and 3 do this for two pieces.
Here is what the two pieces should look like.
Next place glue/adhesive on the end flap, not the large once.
Adhere these flaps down on the edge of the piece we placed aside. Down below I am burnishing down the small scored end to the edge of the 4x6 card that was not scored.
You will do this for for both ends. Below is what your card should look like opened.
Next I did the same steps to this chipboard ghost just like I did the one above on the previous card. For this ghost I placed some glue to back of the ghost on side only, the left side, then I placed it down to the left side flap only. So when you pull the flaps apart the ghost will be pulled to one side
Here is what the card looks like once it opens up with the flaps extended.
Here are all the wonderful Fun & Spooky Halloween Cards created using this fun 2026 October Card, Tag and More Kit from Tres Jolie. I hope you enjoyed the cards as much as I enjoyed making them.
For more details on this and all project you can always view the video tutorial process, which is at the top of the page.
Thanks again for joining me, I have all the links listed for you throughout the post so just click on the words and you will be taken directly to the store.
Until next time, keep curating those beautiful memories. ~Deb
Please stop by ourFacebookpage to see what new items our design team has created using our monthly kits.
You can always post your projects on Tres Jolie FB page - Tres Jolie Club Cafe.
Let's capture the seasons with these three beautiful and delicate shabby chic and cottage-core vibe cards and tag using the 2026 May Scrapbook Kit. We welcome in the delicate bird's nest with the shimmering blue butterflies, along with the lush pumpkin resting on a stack of ages books with shimmering autumn leaves and let's get nostalgic with the winter wonderland featuring the stunning pair of skates surrounded by frosted poinsettias and glittery snowflakes. Come along with me as I share some wonderful techniques how to blend vintage charm and layered textures into these seasonal creations.
To start out I used two of the arc cards that were left over from the 2026 April Card Kit. So I used one of the pattern papers from the 2026 May Scrapbook Kit. I then traced the flaps and arc on the pattern paper, then cut out all of the pieces.
After cutting out all the pieces glue then to inside and outside flaps.
Next I cut out a long 1 inch strip piece of paper. I wrapped it around the card and glued the where the pieces met in the middle, then cut off the excess piece. This creates a belly band, which is a closure for the card.
Here is the inside of the card. I fussy cut the lantern as an accent for the inside.
Here is the front of the card. I added flowers and added some stickels to the snowflakes but the photo doesn't show it.
Card #2
For card #2 we did the same steps by tracing the card and flaps onto the pattern paper, then cutting out the pieces. Adhere them to the front and inside of the card.
Here is what the inside of the card looks like. For this card I used a fall pattern paper from the Scrapbook Kit.
Next I used a few of the Perfect Pearls and Pearl Ex powders from previous kit on the leaf chipboard piece. ***for details view Video Tutorial***
After I was done with the blending the colors I used crystal glaze over the leaf. Once it was dry I adhered on top of the card.
Here is the finished card. I did use gold stickels over the images so they would stand out more. I love these beautiful vintage boarders that go with the Blue Fern paper collection.
Large Tag
Last I did a large chipboard tag. I traced the tag on the pattern paper, cut out the paper and then adhered it on top of the chipboard tag.
Next I painted the beautiful chipboard border that came in the May Scrapbook Kit.
After the paint dried I sprayed on a little bit of the Aquamarine spray from the May Mixed Media Kit.
Once it dried I adhered the border onto the tag.
I then cut off the excess chipboard piece. I adhered on a few butterflies I fussy cut, I added some flowers and a silver corner metal piece from the Mixed Media Kit.
Here is the finished tag. I just love how this tag turned out. The beautiful aquamarine colors with the pinks are just stunning. I love the pink mixed with the cream background from the pattern paper. I did add some gold stickels around the butterflies.
I hope you found some inspiration from today's project. With this 2026 May Scrapbook Kit we created a couple of seasonal cards you can save for future use and the beautiful shabby chic tag is perfect for birthdays or any upcoming occasion you can give on a gift.
Thank you so much for stopping by and crafting along with me today.
Until next time, keep curating those beautiful memories. ~Deb
I invite you to check out the 2026 May Tres Jolie Kits.
These kits are amazing and will get your creativity flowing.
Thanks for joining me and Happy Crafting!
I invite you to please stop by ourFacebookpage to see what new items our design team has created using our monthly kits.
You can always post your projects on Tres Jolie FB page - Tres Jolie Club Cafe.
Don't forget to post your project on our Facebook Group Page, link is down below.
We would love to see what you create.
For more details you can always view the video tutorial process, which is at the top of the page.
Thanks again for joining me, I have all the links listed for you throughout the post so just click on the words and you will be taken directly to the store.
Enjoy and Happy Crafting.
Don’t forget to follow us on all our social media:
Hope you all are doing well. Well here in Texas we are getting some nice cool weather, and we are soooo loving it. With Fall coming in I decided to create something fun using October's Scrapbook Kit from Tres Jolie, it is perfect for creating a home decor project. I created a circular Fall Wall Hanging. You can definitely do this on a canvas or place this in a frame or even as a center piece inside a wreath, so many possibilities. Below I have the link to the Scrapbook Kit, there is the step by step below as well as the video tutorial which has a little more detailed instructions on what I did.
October Scrapbook Kit
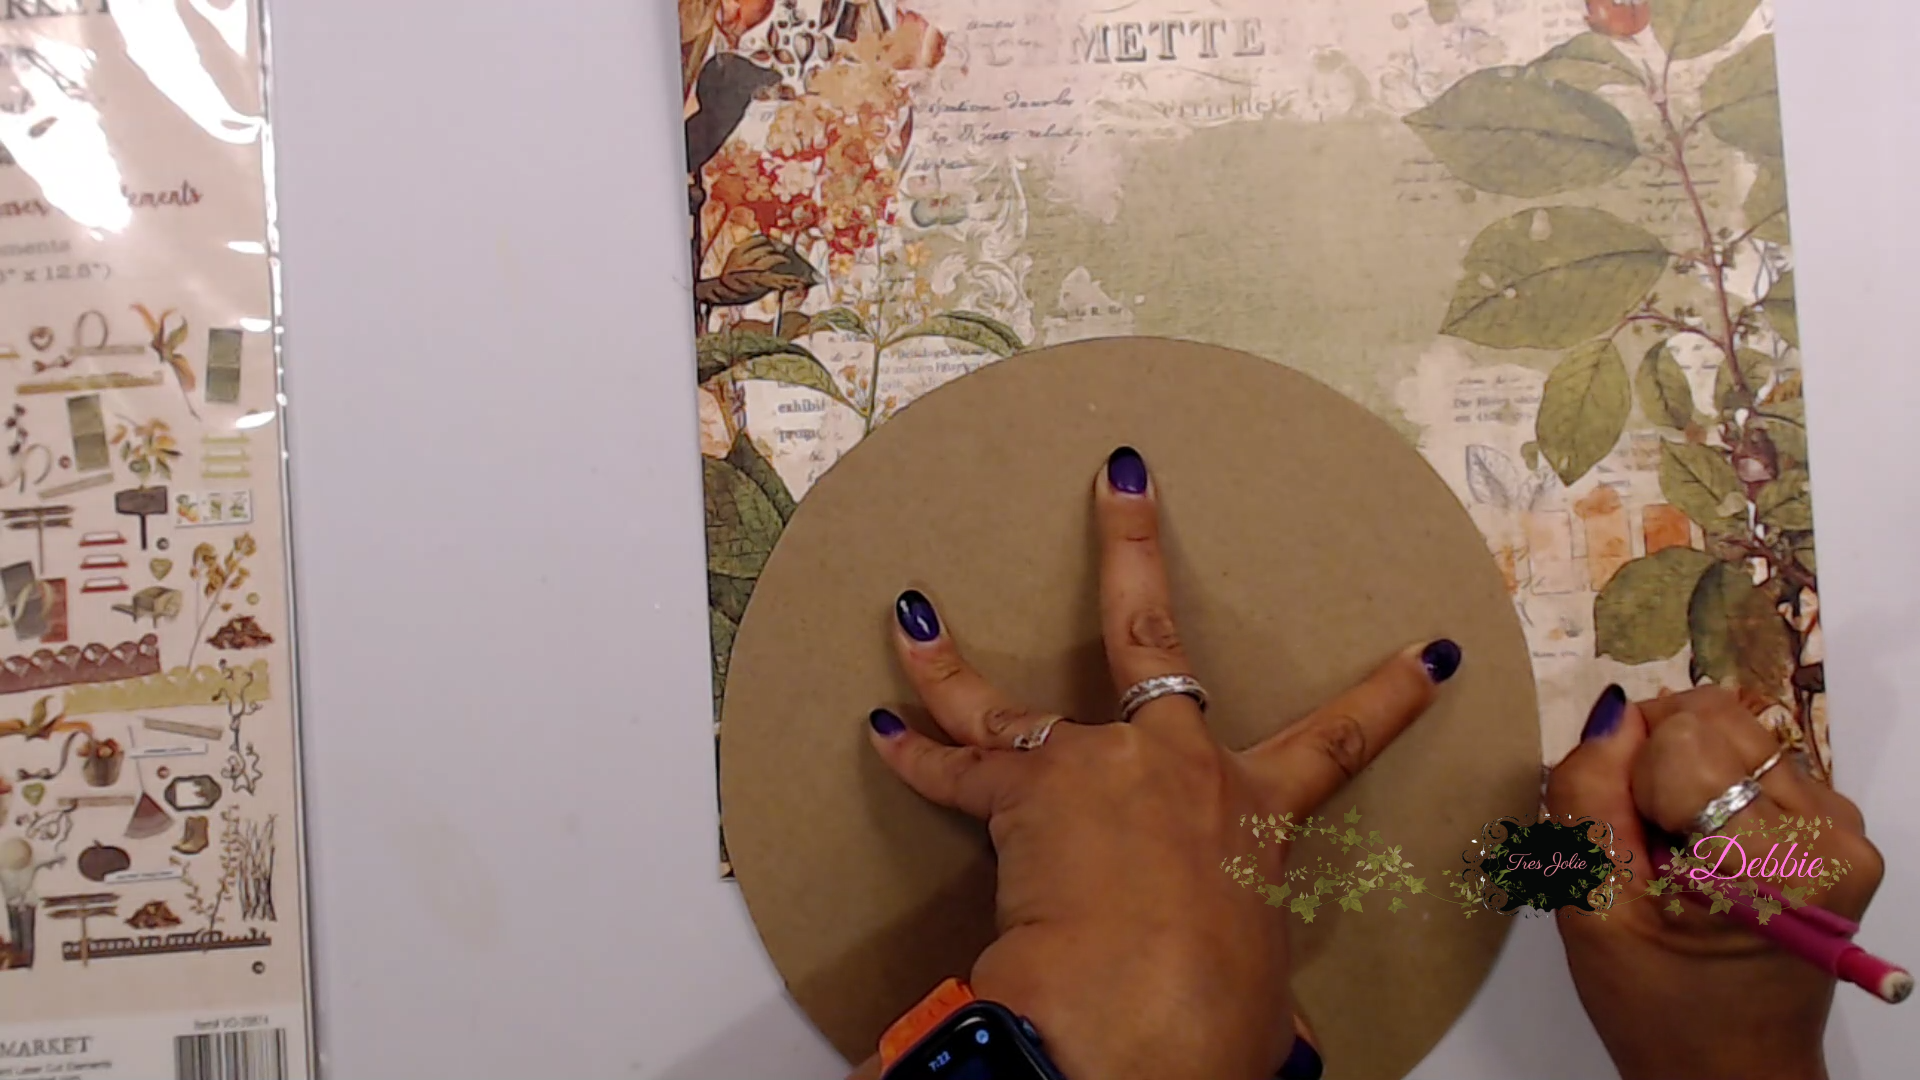
To create this simple Wall Hanging or Fall Decor piece is to get a 12x12 chipboard piece and trace a large circle on it. I used a tupper ware lid and traced around it. You can use a plate, lid or anything you have on hand. My circle is around 8 1/2 inches, you can do yours any size you wish.
Next I placed half of the circle on top of a pattern paper and traced a half circle. Do this for the bottom piece as well.
Here is the bottom piece I'm tracing.
Next cut them out and adhere down. If you have excess paper hanging over the edges in back cut off the excess paper.
Next I am placing some of the Laser Cut Elements around to see what I would like to embellish my wall hanging with. I did use one of the fences that came in the August 2024 Scrapbook Kit. I used vintage photo ink to color it as a dark brown.
Next I used one of the leaves from September 2024 Card Kit coloring it with gelatos and used the Clove alcohol ink from October's Mixed Media Kit on it as well. I did blend in 3 different colors on the leave using the gelatos.
Here is the finished project. I think this is going to look great inside a frame. I love the apple theme and the little gnome is holding a red apple I colored in with a red marker and used glossy accents on top to it would pop out. The yellow flowers are from the October Scrapbook Kit. I really like how this all came together, I hope you all enjoyed it.
Here are more photos of the Vintage Orchard Fall Wall Decor up close.
I really enjoyed creating this Fall Wall Decor with the 49 and Market Vintage Orchard Paper Collection along with the Laser Cuts, it is perfect for Fall. I hope you found some inspiration and head on over to the shop to grab your kit before they are gone.
Don't forget to post your project on our Facebook Group Page, link is down below.
For more details you can always view the video tutorial process, which is at the top of the page.
Thanks again for joining me, I have all the links listed for you throughout the post so just click on the words and you will be taken directly to the store.
Wishing you all a great day and Happy Crafting.
Don’t forget to follow us on all our social media: