Followers

Showing posts with label fall project. Show all posts

Friday, October 31, 2025

Simple Fall Home Decor for Tres Jolie Kit Club

 Hi everyone,

Today I have another simple Fall idea for you, its a simple Home Decor for Fall. All you need is some twine or think twine, two cutting boards (bamboo cutting boards), which I got from the Dollar Tree and your 2025 October Scrapbooking Kit. I think you will like the simplicity of this and you can make it in a day. I hope you enjoy the step by step tutorial and I have the video process down below for more details. I have all the links down below for you. Sit back and Enjoy!


2025 October Scrapbooking Kit Wooden Stacked pumpkin


To create this wonderful Fall Home Decor you will need some thick twine, 2 bamboo cutting boards from the dollar tree and the 2025 October Scrapbook kit. I also am bringing in a beautiful wooden stacked pumpkin found in the shop. We will be using the Mixed Media pearl inks on this beautiful piece. 

Here is the thick twine I will be using as my hanger. 

First pick out what images you would like on the front you cutting boards and adhere them down

Next add your ephemera or bits and pieces. Below I used ephemera, cut apart cards and stickers. I did cut off the white boards from the pumpkins. For the cut apart card I used my distress tool on the edges and then I inked the edges in brown. 


After I was done decorating the top I used Frabi-Tac Glue to adhere the thick twine. Place the glue on the board, place the twine on top and hold down for a bit til it sticks and wait for it to dry.  Do this for the top and bottom on the back of the board. 

Now we are going to use the inks from the 2025 October Mixed Media Kit. I just love how this turned out. I used the sponge applicators as ink dabbers to place the green and gold/yellow on the wooden pumpkin, this worked out really well. 


Next cover and decorate the second cutting board. I did place some foam tape behind the "Thankful".


Next I grabbed some paint and used this to paint the edges of the cutting board, this paint is from a previous Mixed Media Kit. I added brush strokes throughout the front of the board. ***************For more detail view Video Tutorial******


Next I adhered the twine to the back of the second cutting board just like I did the top one. Make sure both boards line up evenly while adhering down the twine.

Press the twine in the glue and let dry.


I am just loving how these cutting board look. How fun are these to hang for the Fall season. So festive and colorful. 


Here is the finished set hung up in my hallway. I just love this project, super simple and done in a few minutes. 


I hope you enjoyed today's step by step tutorial and Please check out the video tutorial for more details. I hope you found some inspiration from this fun and simple Fall Home Decor project. I know I had fun creating this for the Fall Season.  
Thanks for joining me. 
I invite you to please stop by our Facebook page to see what new items our design team has created using our monthly kits.
You can always post your projects on Tres Jolie FB page - Tres Jolie Club Cafe. 


 Don't forget to post your project on our Facebook Group Page, link is down below. 
We would love to see what you create. 
 For more details you can always view the video tutorial process, which is at the top of the page. 
Thanks again for joining me, I have all the links listed for you throughout the post so just click on the words and you will be taken directly to the store. 

Enjoy and Happy Crafting. 


Thursday, October 17, 2024

Vintage Orchard Fall Wall Decor

 Hi Crafty Peeps, 

Hope you all are doing well. Well here in Texas we are getting some nice cool weather, and we are soooo loving it. With Fall coming in I decided to create something fun using October's Scrapbook Kit from Tres Jolie, it is perfect for creating a home decor project. I created a circular Fall Wall Hanging. You can definitely do this on a canvas or place this in a frame or even as a center piece inside a wreath, so many possibilities. Below I have the link to the Scrapbook Kit, there is the step by step below as well as the video tutorial which has a little more detailed instructions on what I did. 


                                                             October Scrapbook Kit                                       


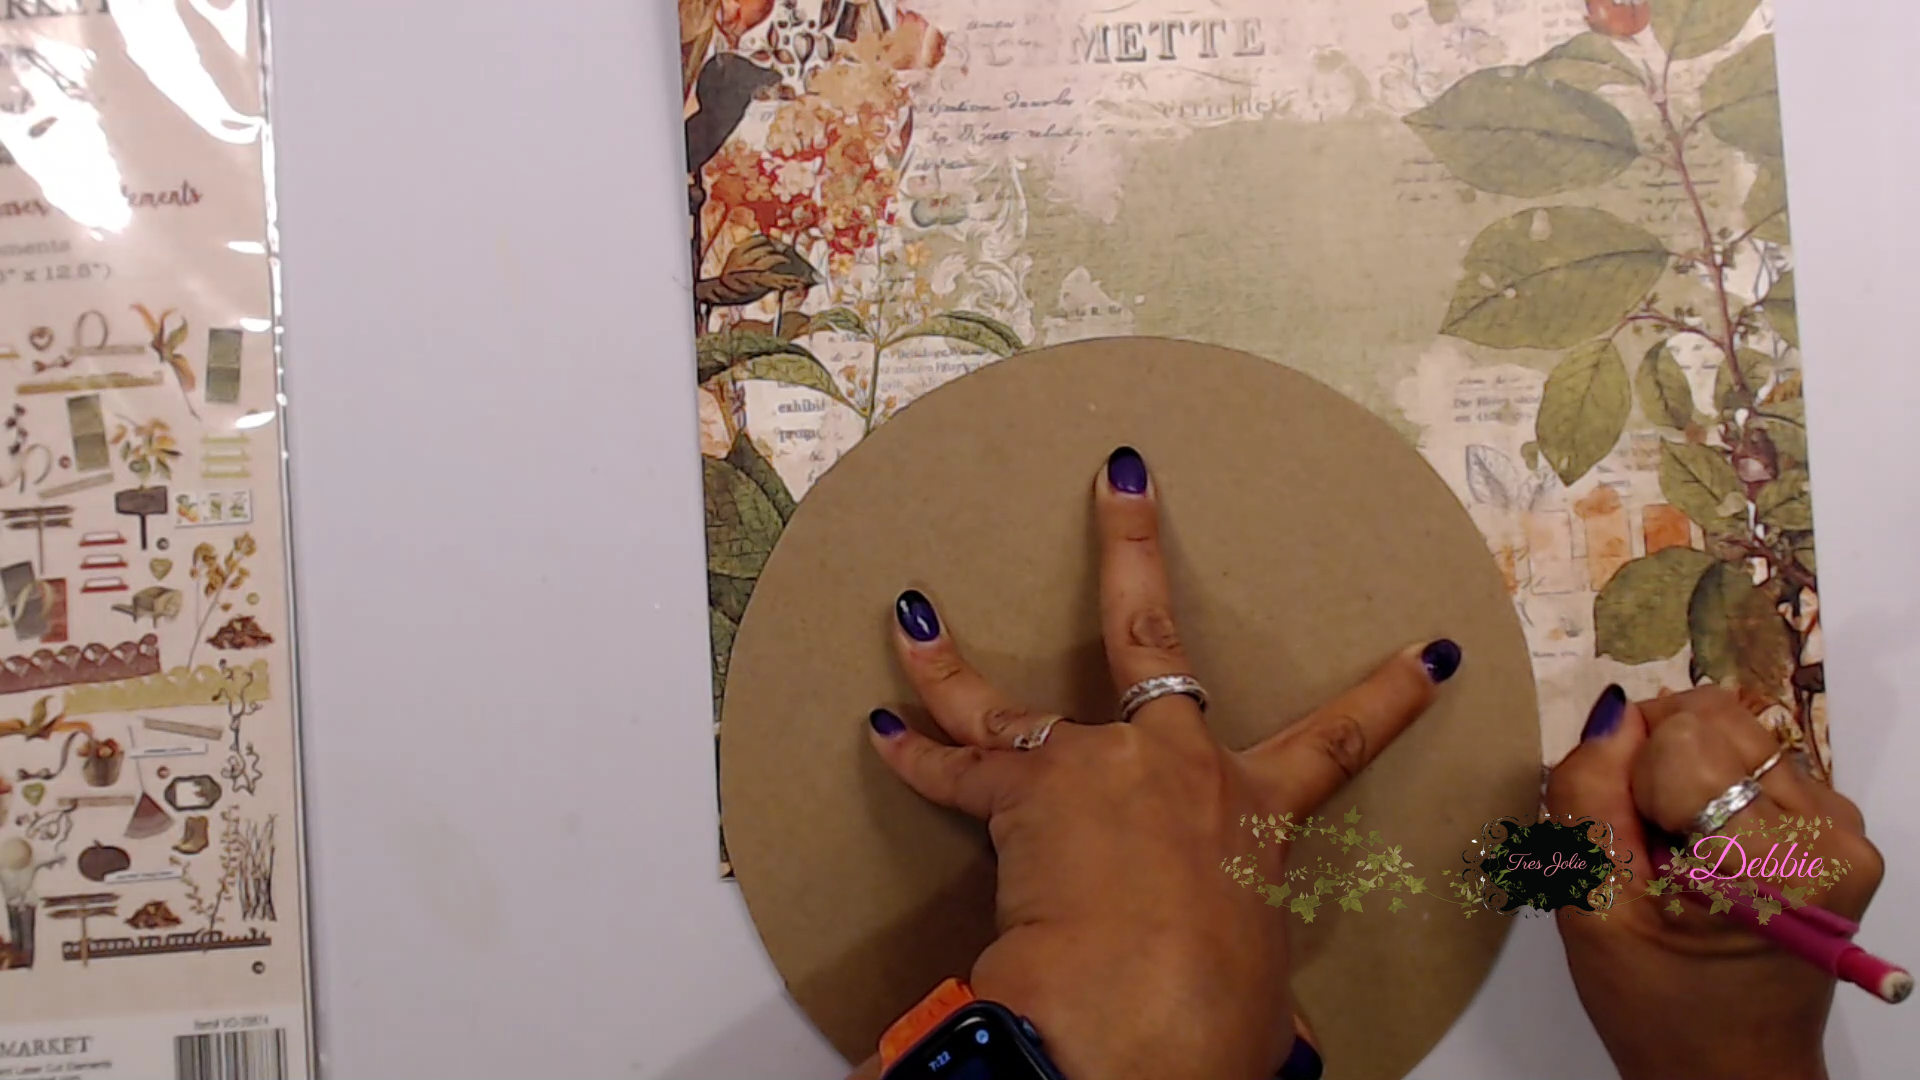
To create this simple Wall Hanging or Fall Decor piece is to get a 12x12 chipboard piece and trace a large circle on it. I used a tupper ware lid and traced around it. You can use a plate, lid or anything you have on hand. My circle is around 8 1/2 inches, you can do yours any size you wish. 


Next I placed half of the circle on top of a pattern paper and traced a half circle. Do this for the bottom piece as well. 


Here is the bottom piece I'm tracing. 


Next cut them out and adhere down. If you have excess paper hanging over the edges in back cut off the excess paper. 


Next I am placing some of the Laser Cut Elements around to see what I would like to embellish my wall hanging with. I did use one of the fences that came in the August 2024 Scrapbook Kit. I used vintage photo ink to color it as a dark brown. 


Next I used one of the leaves from September 2024 Card Kit coloring it with gelatos and used the Clove alcohol ink from October's Mixed Media Kit on it as well. I did blend in 3 different colors on the leave using the gelatos. 


Here is the finished project. I think this is going to look great inside a frame. I love the apple theme and the little gnome is holding a red apple I colored in with a red marker and used glossy accents on top to it would pop out. The yellow flowers are from the October Scrapbook Kit. I really like how this all came together, I hope you all enjoyed it. 


Here are more photos of the Vintage Orchard Fall Wall Decor up close. 


I really enjoyed creating this Fall Wall Decor with the 49 and Market Vintage Orchard Paper Collection along with the Laser Cuts, it is perfect for Fall. I hope you found some inspiration and head on over to the shop to grab your kit before they are gone. 
 Don't forget to post your project on our Facebook Group Page, link is down below.
 For more details you can always view the video tutorial process, which is at the top of the page. 
Thanks again for joining me, I have all the links listed for you throughout the post so just click on the words and you will be taken directly to the store. 

Wishing you all a great day and Happy Crafting. 


Tuesday, September 24, 2024

Hello Fall K-Cup Holder

 Hi everyone, 

Fall is here and that means yummy coffee, teas and other flavorful drinks that taste so good during the Fall season. So today I have a fun DIY project your going to enjoy making its a K-cup Holder using some fun items from the Clear Scraps Store. I have a step by step tutorial below as well as the links throughout the this post, just click on the words and you will be directed right to the exact product. 

6" Flower Pot Stencil                                      4x6 hello FALL Stencil


Word n Shape Fall-Pumpkin


To begin this DIY K-cup holder pick out a pattern paper or cardstock cut at 81/2 x 11 inches. 
Place the paper with the 8 1/2 inch across the scoreboard score at 2 and 6 1/2 inches; turn the paper with the 11 inches across the top of the scoreboard and score at 4, 6 1/4, 8 1/4, and 10 1/2 inches. 
Then cut all 4 corners off, as shown below

Next take a circle that is about 5/8 inches or  3/4 inches and trace on the bottom panel that is above the 1/2 inch flap on the bottom. (as shown below)


Below shows the how the circles are cut out. These are where your K cups will fit inside. 


Next cut the in between each of the flaps where you scored. as shown below. These flaps will be folded in to create a box. 

Fold the side flaps inward and adhere down, next adhere the 1/2 inch flap to the large panel. 


Next I took the wooden pumpkin from the Word n Shape Fall-Pumpkin, traced the pumpkin on pattern paper and adhered onto the wooden pumpkin, I painted the stem brown.


Next I painted the wooden word "FALL" using distressed paint. I also added a few pieces from the pattern paper collection sticker page and adhered them on. 


For this next project create another K-cup Holder, and cut a piece of cardstock at 4 x 7 1/2 inches. 


Next I used a piece of pattern paper that is adhered on to the 4 x 7 1/2 inches of cardstock.
I used the 4x6 flower pot stencil, I used ink to color in the pots and then used yellow paint mixed with textured paste to create the yellow flower, set aside to dry. 


Next use I used the 4x6 hello FALL stencil to stencil in the word "hello" above the flower. 


Then I decorated the K-cup Holder using stickers and sentiments from the paper collection. 


Here is a photo of both of these cute K-cup Holders all done and put together. 

I  hope you enjoyed today's step by step tutorial. These K-cup Holders would make a great gift for family members, friends or co-workers using these amazing wooden shapes for Fall or for any occasion there are so many to choose from at the shop. I hope you get to try to make one of these K-cup Holders using the fun 6"flower pot stencil and the 4x6 inch hello Fall stencil along with the Word n Shape Fall-pumpkin.  

Thanks for joining me today.
Happy Crafting my Friends, 

Join us one facebook and instagram for more inspiration. 

https://www.facebook.com/ClearScraps

https://www.instagram.com/clearscraps/

Tuesday, September 10, 2024

DIY Shiplap Farmhouse Pumpkin Decor

 Hello Crafty Peeps,

I hope y'all are having a great day. Today I am sharing a fun simple project you can make in an hour using the Clear Scraps Wood Shiplap Shape Pumpkin Large size, along with the 'hello Fall' stencil and Maple Leaf Shaker. I have the step by step down below and the video tutorial on my youtube channel. As always the links are down below for you just click on the link it take you directly to the store/product. 

Shaker Maple Leaf                                                 hello FALL Stencil


Lets begin with painting the pumpkin. I combined Distressed Paint antique linen along with some white paint. I used the antique linen with some paste and applied it on smoothing it out as I went around the pumpkin and then cam back in with white paint on top applying it on sporadically. 

For the stem part I painted it using Distressed Paint walnut stain. 


Next I placed down the 'hello FALL' stencil and used my Distressed Oxide ink vintage photo to ink up the words on the stencil. 


Here is what it looks like after stenciling. Looks so good, right? I love it.


Next using the Maple Leaf Shaker you will get 3 frames and the back of the shaker along with an acetate piece. 


Adhere the 2 of the frames together and place the acetate on top of the two frames you just adhered together. The other frame you can paint and you can either paint or paper the back of the maple leaf shaker. 


I painted my back shaker leaf and the frame that is placed on the top of the shaker. I used Stamperia Glamour Gel Dark Wood paint. Once it all dried I placed my shaker pieces inside and adhered the backing on. 


I found this fall bouquet in my stash with some raffia and tied it to the stem and adhered the flower on and the adhered the Maple Leaf Shaker on next to the stenciled 'hello FALL'. 


Here is the finished Farmhouse Pumpkin Decor. I tied the little bouquet around the top with Raffia and hot glued the flower. I just love how this turned out with the maple leaf shaker adhered to the hello FALL. 


I  hope you enjoyed today's step by step tutorial. This Farmhouse Pumpkin turned out so good, and I really like it cause it was so simple and quick to create. This shiplap pumpkin comes in a variety of sizes, plus you can find many other shiplap design shapes in the Clear Scraps Shop. 

Thanks for joining me today.
Happy Crafting my Friends, 

Join us one facebook and instagram for more inspiration. 

https://www.facebook.com/ClearScraps

https://www.instagram.com/clearscraps/