Hi all,
***Reminder to join in my Giveway*** (check sidebar)
Today I have a little gift box I made for a friend a couple of months ago. It was made with Graphic 45 Botanical Tea, (which is my fav paper from G45), I also used Botanical Tea Stamp.
I got the box idea from
mummylade.blogspot which was inspired by Lene Katrine. I made mine a little bigger so I did my own measurements. I will give those to you in case you all want to make one. I really liked this box once I got a handle on the measurements it turned out really pretty.
So I am going to show you the picture of my finished creation first than I will give you pictures of the measures and how to put it together. There will be a lot pictures. (sorry)
My finished gift box - I placed a couple of tea bags in the box for her.
***This is the front view
***Inside view
***I crated a flap that opens up
***I decorated the inside of the flap with the Botanical Tea tag showing. Added TH vintage photo and smooch paints to the wooden cup, Also attached a little rose and butterflies in the bottom corners as they connect with a magnet to close securely.
Well I hope you like it.
Now on to the pictures with the measurements and how to put it together. Please remember this is not my design of the box I cased it from Mummylade.blogspot and she was inspired by Lene Katrine, I give full credit to them for this beautiful design. :D Also remember if you have any questions please leave me a message in the comment box. If you go to Mummylade's blog go to Templates and she has a template that shows you the same design as my photo.
Picture 1 - Paper is 8x8 scored at 3/4; score @ 1 5/8; score @ 2 1/2. After you score measure from the edge of your paper go passed the 3 score lines and mark at 2 1/2 with a pencil. Do this on each end of the paper, that is where you are going to cut in order to get the diagonal cuts for your box.
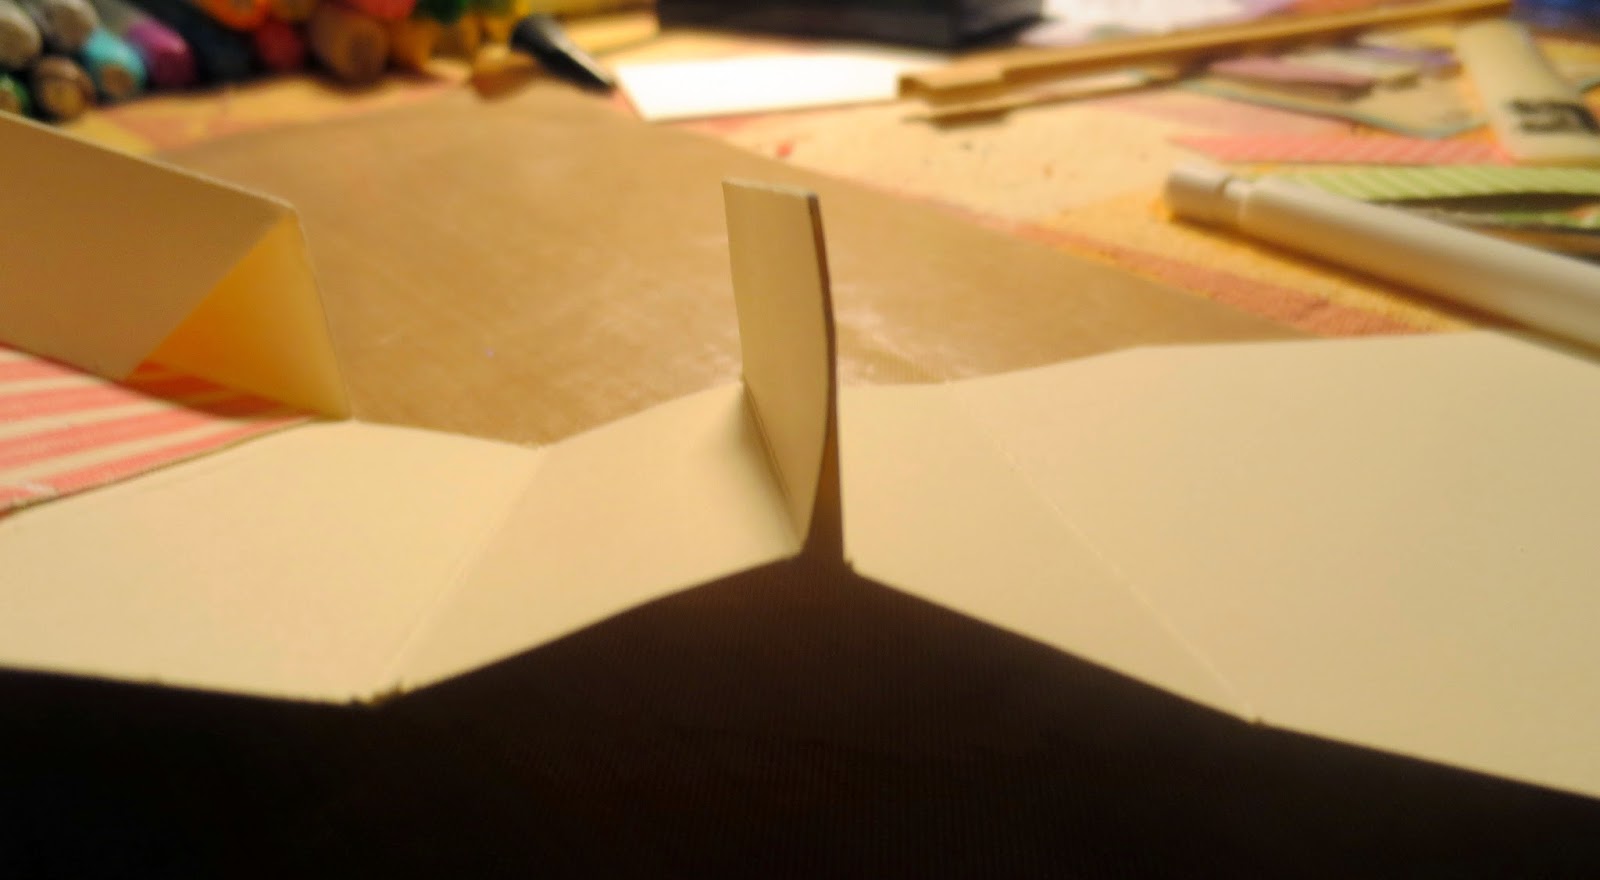
Picture 2 - fold on score lines towards the inside of the box.
Picture 3 - Only glue down three of the flaps
Picture 4 - This is going to be your cover. Just measure the one end of the box that is not glued down and that will give you a start for how long you want the cover to be, don't forget the little tab you need for closing in the front of the box.
Picture 5 - After you score your cover to match the flap you can glue them together.
Picture 6 - Picture shows how to glue them to get the cover on. (end to end)
Picture 7- fold the glued flap down like the other flaps and then you will have your top cover for the box.
****See all done. Whew.... : D
Supplies-
Paper - G45 Botanical Tea
Stamp - G45 Botanical Tea
Ink - TH vintage photo, Smooch Pearlized Accent Ink - Shabby Pink, Sassy Pink, White; Powder Puff - Limeade (inked on the edging of paper) and Coal Miner.
Accessories - From stash -Wooden Tea Cup (Michaels), Jewelry wire - for front butterfly; magnets; Flower - rose from Stamp Asylum; SU - little flower punch; Liquid Pearls - yellow/gold; Ribbon/Seam Binding from - 3 Girls Jam; White filigree with TH Vintage photo dabbed around it; Spellbinders - Lacy Squares
Challenges entering:
paulaholifieldcrafts: ALBC Flower Power
Emerald Faeries Challenge Blog: Challenge #55 Flowers, Ribbon and/or Lace
MeMa's Crafts - May Challenge - Flowers
Just For Fun - Ribbon or Lace
Dies R Us Challenge: Challenge #2 - May Flowers
Craftyhazelnutes Patterned Paper Challenge - CPPC May Challenge
Bearly-Mine Challenges - May Challenge - Flowers
The Artistic Stamper Creative Team Blog - May Challenge - In The Garden
Altered Eclectics: Challenge 1st of May - Anything Goes
Craft Hoarders Anonymous - Challenge #7 Ribbon, Lace and Twine, Oh My!
Divas by design: Anything but A Card
Crafting for all Seasons Challenge Blog: Challenge #77 - "Things with Wings"
3 Girl JAM Challenge - May 2014 Challenge: Anything Goes
Crafting From the Heart - Challenge #18 Anything Goes
Suzy Bee's Bloomin' Challenge Blog - Challenge #28 Flowers
Crafting At The Weekend - Challenge #1 Anything Goes
Crafty Ribbons Challenge - Challenge #89 - Anything Goes with Ribbon
DO NOT forget to join in for the Give Away. the Picture is on my sidebar.
Thanks so much for stopping by today and I hope you were inspired to try out the gift box. : D
Stay Crafty,
Deborah xxx