Welcome back! Today, we are celebrating the arrival of spring with this adorable, bee themed folio using the 2026 May Card, Tag and More Kit from Tres Jolie. This sweet folio features a beautiful pattered papers, and dimensional embellishments, this folio is sure to bring smiles and sunshine just opening it up or gifting it to someone special. Down below I have the step-by-step tutorial and the video tutorial that gives further details for each area inside the folio.
2026 May Card, Tag and More Kit
To start out take the 12x12 black card stock and cut one piece at 12x8 inches and cut one at 4x8 inches.
Next Score the large piece with the 12 inch across the top of the scoreboard.
Score at 4 1/4, 4 1/2, 10 1/4 and 10 1/2 inches.
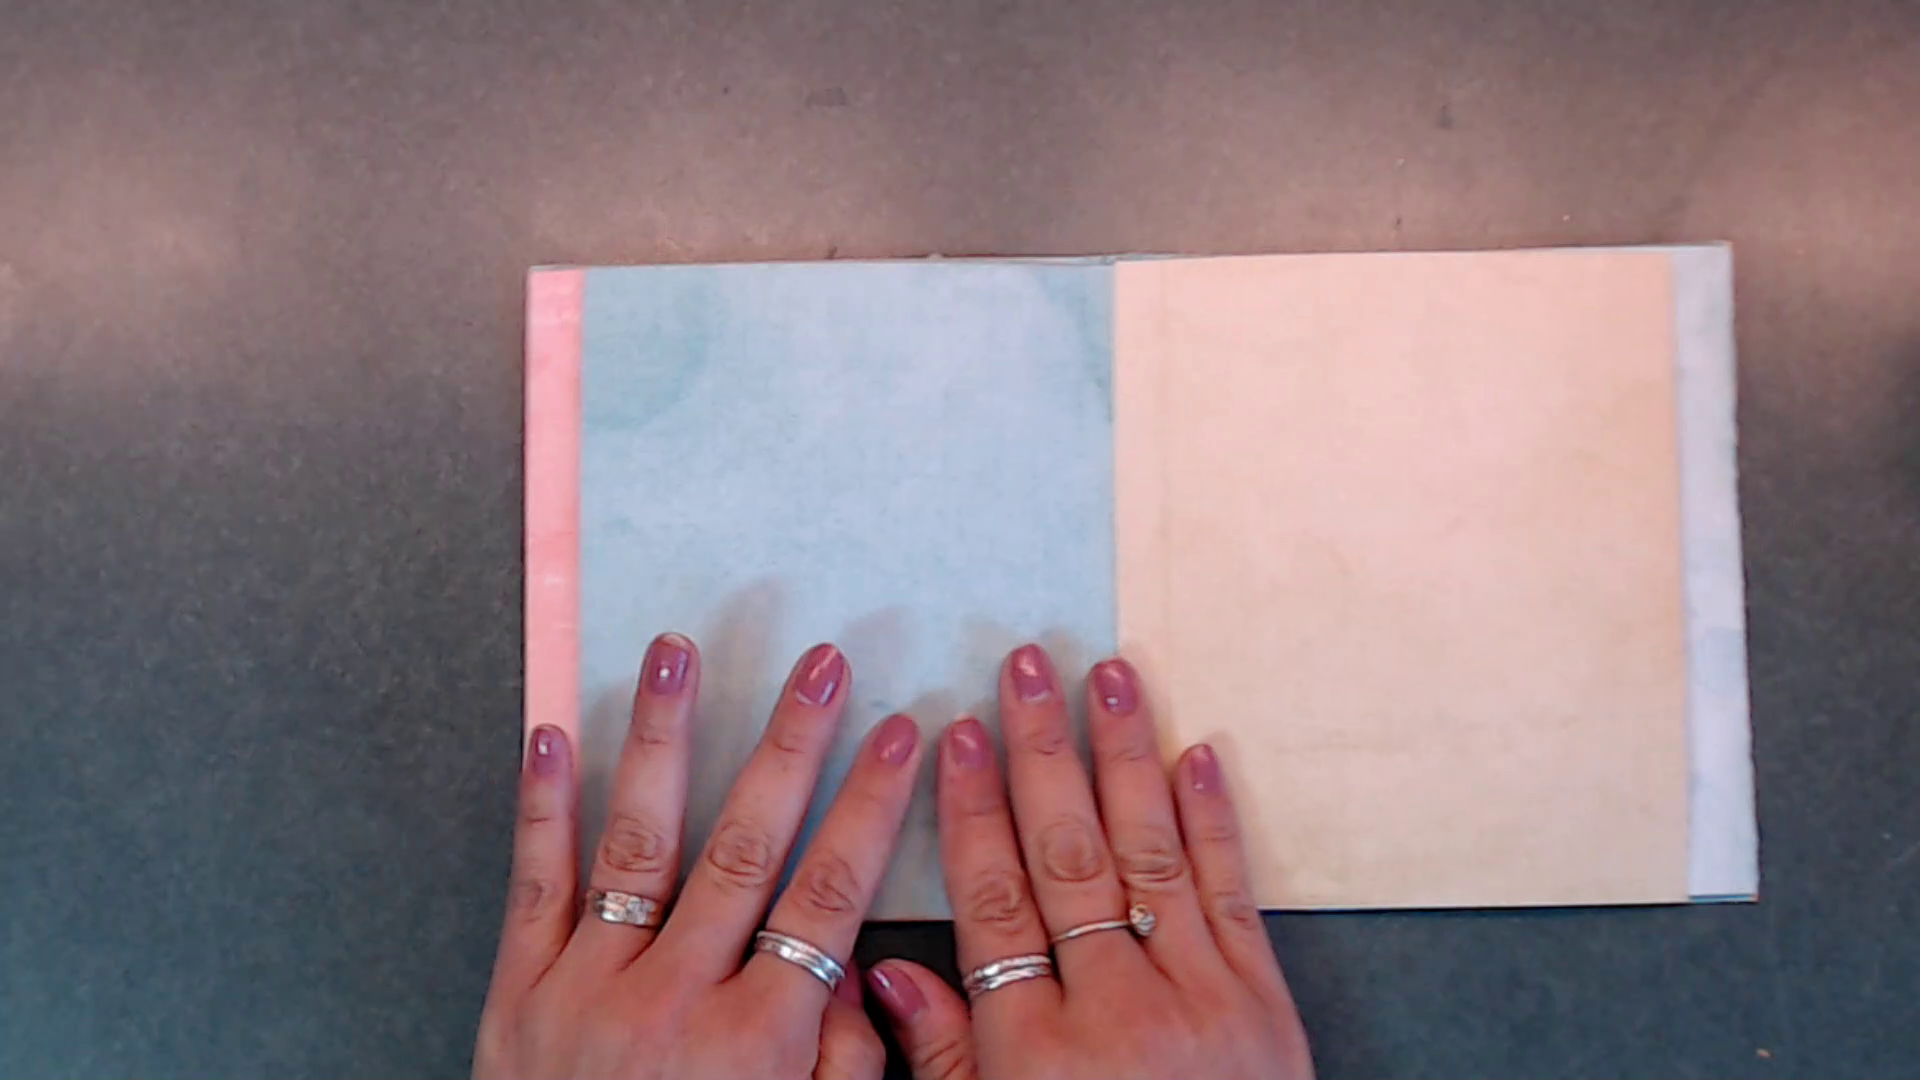
Next place 1/4 inch adhesive on the right side edge of the larger paper just scored and adhere the smaller piece 4x8 piece to the edge. Your Folio Base should look like the photo below.
(View Video Tutorial for more details)
Next cut out 2 pieces of cardstock at 5x5 ; Score 1/2 inch & 3/4 inches
Cut out 2 pieces 4 1/2 x 7 7/8 inches; Score 1/2 inch & 5/8 inches
After you score the 5x5 pieces cut the left and right ends off at a slant. Using a ruler make it slanted and use an xacto knife or draw a line and cut both pieces.(View Video Tutorial for more details)
Next adhere on the smaller flaps 5x5 inch to the top and bottom and then adhere on the larger pieces to the left and right side as shown below.
(View Video Tutorial for more details)
After you place on the flaps you can paper the outside and inside.
Here I have the front of the Folio papered and decorated. I used the chipboard "Spring Fling" from the May Scrapbook Kit. I used a black marker around the border and then used crystal glaze on top and let dry. I added the lace as a closure and the added the flower with the chipboard honeycomb at the bottom along with one of the 49 and Market elements from the kit on the side of the Bee cut apart card.
Next for the left inside panel I created 3 small envelopes. Cut 3 pieces of paper 5x5 inches, I used the envelope maker for these but I did do a video tutorial showing how to create them using your scoreboard. I decorated them using the 49 and Market elements from the Card Kit.
The right side flap I used the larger cut-apart image and turned this into a pocket using 1 inch strips. I then placed a few photo/journal pieces inside the pocket with tabs.
(View Video Tutorial for more details)
Here is a close up of the envelopes. Each envelope has a little something inside.
Close up of the large pocket with the tabs on top of the photo/journal cards.
Next I created a larger envelope and made this into a pocket as well. I created some of these beautiful framed see through window ephemera pieces using acetate, along with some of the elements from the 49 and Market packet using the frames, flowers, butterflies and sentiments. The envelope flap opens and holds some other photo mats and journal items. All the envelopes close with a magnet.
Here is the last flap. This is so fun to make and placed on these cute little buttons we created, please view Video Tutorial. This is like a policy envelope and opens from the top and bottom and then has the side flaps that open up from right to left. (View Video Tutorial for more details)
Here is a look at the inside. The flaps are opened up.
I hope this sweet Bee Happy folio has inspired you to dust off your paper trimmer and dive into some spring crafting! I enjoyed creating this bee-themed folio and I hope it brought some sunshine to your craft-room. For more details please watch the full step-by-step video tutorial. Thank you so much for stopping by and crafting with me today.
Until next time, keep curating those beautiful memories. ~Deb
I invite you to check out the 2026 May Tres Jolie Kits.
These kits are amazing and will get your creativity flowing.
Thanks for joining me and Happy Crafting!
I invite you to please stop by ourFacebookpage to see what new items our design team has created using our monthly kits.
You can always post your projects on Tres Jolie FB page - Tres Jolie Club Cafe.
Don't forget to post your project on our Facebook Group Page, link is down below.
We would love to see what you create.
For more details you can always view the video tutorial process, which is at the top of the page.
Thanks again for joining me, I have all the links listed for you throughout the post so just click on the words and you will be taken directly to the store.
Enjoy and Happy Crafting.
Don’t forget to follow us on all our social media:
Today I have an easy project you can create using the March 2025 Scrapbook Kit. With this Scrapbook Kit I created a Simple Spring Folio that you can create within a few hours. You will love the simplicity of this folio and it can hold a few photos or more (at least 20). I hope you enjoy creating this, I have all the links below along with the step by step tutorial and the video tutorial which holds a lot more details for you.
March 2025 Scrapbook Kit
To start the folio cut 2 pieces at 81/2x9 inches, Score at 1inch with the 8 1/2 inch along the top of the scoreboard.
Cut 2 pieces of cardstock 7 3/8x9 inches, Score 1/2 inch with the 7 3/8 inches along the top of the scoreboard.
Next adhere the 1 inch pieces together, this will be your spine.
Then adhere the 1/2 inch pieces to the inside of the spine. Place the first one down with the 1/2 inch piece facing to the left, then adhere the second page behind the first page.
Here is what the folio should like once you have everything adhered.
For more details you can watch the video tutorial.
After creating the folio, I used pink cardstock on top so there is a small border.
For the front cover of the folio I used this beautiful window image. I cut it out and cut open the window and folded back the window pieces to create flaps. I adhered a piece of pattern paper behind the window for a nice scene.
This small flap will be adhered on the first page on the edge.
This flap is adhered to the front of page 2.
Here's a photo of the inside cover and the front of page 1.
For the inside cover I created a double pocket for more details you can view the video tutorial.
For the front of page 1 I adhered the little flap (view above). I also created a small inside pocket which is shown in the video tutorial.
The back of page 1 I used the pattern pink brick paper and then I adhered a piece of scrap pattern paper with gluing only the side edges and one long edge and placed it down to create a side pocket. I also added one of the chipboard windows and one of the small sentiment cards on top.
Page 2, I created a pocket using the pattern paper and adhered lace to the edge of the pocket. And adhered this to the large flap I listed above.
(For more details you can view the video tutorial)
For the back of the large flap I created a belly band using some scrap pattern pieces.
Page 2 I used one of the pattern papers that has the pretty gate. I fussy cut some flowers and adhered them down as a tuck spot. Only place glue to the bottom edges.
(For more details you can view the video tutorial)
Back of Page 2 I adhered the large doily to the back of page 2. I adhered one of the sentiment cards to the top only placing glue at the top edge.
The back inside cover I adhered down the pattern paper that has the notebook page image. I just love this page, and it's great for writing down details about your folio.
Here is a finished picture of the front.
For the top of the cover I used the circle window to create a little clock. I painted it with white gesso then added the clock stick on top from the sticker sheet. I also added in a couple of the sticker butterflies. I fussy cut the white butterfly. I adhered down the little doily edges on the edge of the windows. Then I added in the sentiment card in the middle, and adhered on the flowers that came in the scrapbook kit. (For more details you can view the video tutorial)
I hope you enjoyed today's step by step tutorial. I loved the simplicity of this folio, it's so simple and elegant. It can easily hold up to 20 photos or you can also use it as journal.
Don't forget to post your project on our Facebook Group Page, link is down below. We would love to see what you create.
For more details you can always view the video tutorial process, which is at the top of the page.
Thanks again for joining me, I have all the links listed for you throughout the post so just click on the words and you will be taken directly to the store.
Wishing you all a great day and Happy Crafting.
Don’t forget to follow us on all our social media:
Today I have a quick and easy little Folio you can make with the new February Scrapbook Kit from Tres Jolie. I have the step by step tutorial below for you but I also have a process tutorial for you here as well.
To get started you will use the 49 and Market Collection with the ephemera that is inside the Scrapbooking Kit.
First cut you pattern paper at 6 1/2 x 11 inches. Score at 5 1/2 x 6 1/2 inches
Next cut 4 pieces of pattern paper from at 5 1/2 x 6 3/8 inches and with the 5 1/2 inch across the top of your scoreboard score 1/2 inch on all 4 pieces. Next adhere one down to the inside of the spine as shown below.
Here is one page adhered inside the folio on the spine be sure to place the fold of page to the outside of the score line.
Next you can adhere a second page the opposite of the first page on the spine so now you would have two pages. Then adhere the 3rd page to back of the cover so it will flip outward be sure to place the fold on the edge of the back page(cover).
Below you will do the same thing to inside front cover, adhere the 4th page to inside front cover adhering down the 1/2 inch tab down making sure the fold is at the edge of the front cover page.
Adhere down and burnish the page.
Now you should have 4 pages, 2 flaps - one in the front and one in back; 2 pages in the middle of your folio.
Another picture of the pages inside the folio.
After you adhere all the pages you can now decorate.
Here is a photo of the first foldout flap I decorated using the elements from the scrapbooking kit.
Once you open the flap up here is where I added a little photo mat in the middle and a tuck spot using the cut apart ticket and added a photo mat that can be taken out. I also added little tabs on the side of the pages to place in dates or names.
Next turn the page and you see a waterfall that is created on the left side of the page that is adhered to the spine. You can see more details in the Folio process tutorial.
The flap opens and you have a nice area to place a photo inside.
One right side of the inside page you have a large from from the Scrapbook Kit paper Collect from 49 and Market. With all the frames I adhered acetate behind them and added foam tape to the back for easy access to slide in photos.
Flip the page and you have 3 panels. The left panel we created a bellie band and added some elements for journaling or photos. The middle panel is another large frame. The right side shows you a flap that we added in that open upward. I also placed one of the small frames on there and some ephemera.
This flap opens upward and I added two photo mats one on the top and one on the bottom. The flap does use a magnet.
Here is the Folio all decorated.
I hope you enjoyed this tutorial and find some inspiration to create this quick and easy folio.
All the designers will be revealing their projects on the Tres Jolie blog all month long. Make sure you join us for tons of inspiration, including video and photo tutorials. Also make sure you check out our newest chipboard designs that were just added to the store.
Here are the supplies that we are going to use for the Autumn Folio. You will also need 4 magnets from your stash.
I used orange cardstock for my base folio. I cut 2 pieces of 8 1/2 x 11 inch cardstock to 8x8 inches.
Score both pieces of the 8x8 inch pieces 1/2 inch on the left hand side.
Next place some glue or adhesive to the 1/2 inch flap and attach the other 1/2 inch flap on top of the adhesive.
This is how you folio should look after you adhere both pieces together.
Next you should have a couple of pieces of cardstock that measures 1 1/2 x 8 inches, these are going to be our closures for the waterfall we create. You need to score the bottom of the strips 1/2 inch. I also have cut my pattern paper to cover the closures/arms.
Next cut 10 pieces of cardstock at 6 1/4 x 4 3/4 inches. Score the 4 3/4 at 1/2 inch so you have a flap at the top. (shown in photo) These pieces are the waterfall for our photos.
Next cover the inside of your folio before you lay down the waterfall pieces.
Next cover the closures and add adhesive to the bottom 1/2 inch flap.
Place the 1/2 inch flap to the bottom middle portion of the inside cover to both the left and right had side. (shown in photo)
This is how the closures should look once the are attached.
Next we are adding the waterfall photo mats. Place glue on the 1/2 inch flap. You will do this for both the right and left side of the folio.
Lay the photo mat down on the left side about 1/8 inch or 1/4 inch from the top.
Grab another photo mat place glue on the 1/2 inch flap and adhere directly under the flap you just adhered down. So place the fold of the photo mat you are adhering down at the edge of the adhered 1/2 inch flap.
When placing down the photo mats use your first photo mat as a guide to make sure the rest of the photo mats are lined up. (shown below)
Adding magnets - place one magnet at the top of the photo mat, place double back tape across to hold in place.
Next place a another piece of double back tape with the sticky side up and place the other magnet on top.
Next grab the closure and place on top of the magnet and burnish to the arm so it attaches. Do this for both the right and left sides of the folio.
Now cover the all the photo mats.
Next we have the last 2 pieces. these two piece will be scored with the 6 1/4 inch side at the top of your scoreboard. Score 1/2 inch down the left side.
Place adhesive to the 1/2 inch flap on the back side and attached to the inside folio spine.
For the second piece place glue to front of the 1/2 inch flap and adhere down on top of the spine, this may overlap on top of the first piece, its okay.
Cover the spine area with a 1/2 inch strip from top to bottom. Cut any excess off.
Next I used the rest of the beautiful chipboard pieces from the Card, Tag, and More Kit. First I inked with Distress Vintage Photo ink, added glue around the chipboard and then added the Distress Spiced Marmalade on top.
Next cover the front and back of your folio. I used two of the columns from the kit and placed on either side of the window. I just love this image its my favorite.
Next I used the flowers from the scrapbook kit and decorated around the columns and window. I also fussy cut the leaves and pumpkins and butterfly from the cut-apart pages from this beautiful paper collection. I also adhered the glittered chipboard pieces in the left and right corners.
Here is the finished folio.
I hope you enjoyed todays project using the beautiful November Scrapbooking Kit along with the November Card, Tag and More Kit. I just love the kits this month I hope you do too. If you haven't seen them or want to check them out press on the links to check them out, you will want to get them before they are gone.
Wishing you all a great day.
Happy Crafting
Don’t forget to follow us on all our social media: