In today's step by step tutorial below, we are crafting three stunning arch-top gatefold cards using the 2026 April Card, Tag and More Kit. These designs feature lush botanical layers, delicate ephemera, and a touch of Victorian elegance - perfect for anniversaries or celebrating those "simple moments" in life.
Below I also have video process tutorial that provides more details.
2026 April Card, Tag and More Kit
Card #1
To start I covered all three gatefold cards by tracing the flaps onto the pattern paper. I did the same for coving the inside of the cards as well.
Once you have all your pieces cut adhere them down.
Here is the inside of the card covered.
For card #1 - fussy cut two of tags out and on the one with the floral images I place foam tape on the back, adhered to the other tag. I then adhered this to the middle but only place adhesive to the edges as to leave the middle opened so a large flowers (fussy cut) can fit underneath the tag as a closure.
Below is the large flower I fussy cut and adhered on the right flap leaving a bit overhang so it will fit under the inside gap of the tag.
Card #2
I created a belly band by taking a 1 inch piece of pattern paper wrapping it around the card, adhering the straps together to create a band to slip over the card and then trimming it down.
Next I fussy cut out the elements from the cut-apart page. The filagree and the paper flower on the left and right hand side along with the beautiful man & lady image. Added some stickles to the middle image and stamped "Happy Anniversary" added it below the image. I then added the gold corners from the kit.
Card #3
I added some flowers and a butterfly I fussy cut after I adhered on the pattern paper.
On the butterfly I did some foam tape to back to raise it up a bit with the flowers.
I added one of the cut-apart cards a little off to it would tuck under the flowers.
**for more details please view video tutorial***
Here is what the finished card looks like. I did add the pinks button from my stash.
Fun PopUp on Inside of Cards
To create the popup mechanism cut how ever many you would like to have in each card.
I did two inside one card and one in another card.
Cut your cardstock at 1 x4; Score at 1,2,3 inches
On one of the ends place adhesive, lay flat next the score line, (as shown below). Then fold over the left side flap on top of the strip.
Now it will be adhered to the left side of the flap. (as shown below)
Now you can adhere your image to 2 square, middle square. That leaves two squares.
Fold both squares over behind the image and place adhesive to the last (end) square.
Fold over the flap.
And now you have your pop up mechanism.
You can do this on all your cards or you can do this technique on a few.
Here are a few photos of the inside of the cards.
I hope you found some inspiration from today's project. The techniques in this cardmaking tutorial will help you add incredible depth and texture to your cards, scrapbook layouts or other paper crafts.
I invite you to check out the 2026 April Kits over at Tres Jolie Kit Club.
These kits are amazing and will get your creativity flowing.
Thanks for joining me and Happy Crafting!
I invite you to please stop by ourFacebookpage to see what new items our design team has created using our monthly kits.
You can always post your projects on Tres Jolie FB page - Tres Jolie Club Cafe.
Don't forget to post your project on our Facebook Group Page, link is down below.
We would love to see what you create.
For more details you can always view the video tutorial process, which is at the top of the page.
Thanks again for joining me, I have all the links listed for you throughout the post so just click on the words and you will be taken directly to the store.
Enjoy and Happy Crafting.
Don’t forget to follow us on all our social media:
Vintage Vibes only! Today I'm sharing four card designs featuring beautiful blue florals, intricate chipboard filigree, and plenty of lace. These Simple Vintage cards are perfect for weddings, thank-yous, or just because. The February Card Kit has everything you need to create stunning vintage shabby chic style cards. I have the step-by-step instructions below as well as the video tutorial.
2026 February Card, Tag and More Kit
Card #1
Let's make a large slimline card. Cut 1 piece of cardstock @ 7 1/4 x 8 1/2 inches - fold in half and then paper mats for layering on top of the base card.
Next I used this beautiful Split Mandala 2 chipboard piece from the Tres Jolie Shop. Adhered down on top of the card to encircle the blue flower.
I then added the white die cut underneath the blue flower and the resin bird, flower and bird are from my stash.
Card #2
Using the card bases from the kit, cut and adhere down the mats to the top of the card. I folded in the upper right hand corner and added a doily to the left side.
Next I adhered down the chipboard key from the scrapbook kit and also added apiece of torn book page inked to the center of the doily.
I then adhered down some flowers used from past kits and some art stones from a past mixed media kit (mixed media kit not available) The small gold frame is from the
2025 May Scrapbook Kit (still available)
Card #3
Again we are creating an A2 card, that is layered with some cardstock from the Card Kit. I added a piece of lace that was left over from a previous kit. The lace is held down with some small glue dots.
I then took the blue foil polka dot paper cut it to 4x4 and folded it into a small envelope. Placed some foam strips on the back to raise up just a bit
I punched out a flower from scrap pieces and placed in one of the delicate vintage frames from the 2025 May Scrapbook kit.
I adhere it down tucking it a little bit under the envelope.
I then added a little not stick out from under the flap of the envelope with "Hello" and added a small resin piece from my stash.
Card #4
The last card is a smaller slimline card measuring 6x8 and folded in half.
I cut my cardstock and the pattern paper to layer as mats on top of the card base.
I then cut the remaining piece of doily into 2 pieces to adhere in the upper left corner and
bottom right corner.
I used the scrap square pieces I had from a previous project ( Folio project - DIY Folio - Nature's Gallery). I cut a few pieces of background paper 2x2 inches adhered them together and used foam tape to pop them up. I also had cut a few flowers from scrap pieces added foam tape to back.
I adhered down the paper flowers I fussy cut and then embossed "Thank You"
to the center piece.
I hope you found some inspiration from today's project. In this tutorial you learned how to add depth and dimension to your handmade cards. We used coordinated flowers, chipboard pieces and items from our 2026 February Card, Tag and More Kit and items from our stash to create focal points on our cards giving them a shabby chic aesthetic look.
I invite you to check out the 2026 February Kits over at Tres Jolie Kit Club. These kits are amazing and will get your creativity flowing.
Thanks for joining me and Happy Crafting!
I invite you to please stop by ourFacebookpage to see what new items our design team has created using our monthly kits.
You can always post your projects on Tres Jolie FB page - Tres Jolie Club Cafe.
Don't forget to post your project on our Facebook Group Page, link is down below.
We would love to see what you create.
For more details you can always view the video tutorial process, which is at the top of the page.
Thanks again for joining me, I have all the links listed for you throughout the post so just click on the words and you will be taken directly to the store.
Enjoy and Happy Crafting.
Don’t forget to follow us on all our social media:
Today I am sharing some fun card techniques to make using the March 2025 Card, Tag and More Kit. This Card kit is just beautiful and will make you want to create tons of wonderful projects. Join me below for the step by step tutorial but you can also view the video tutorial as well, which has a few more details.
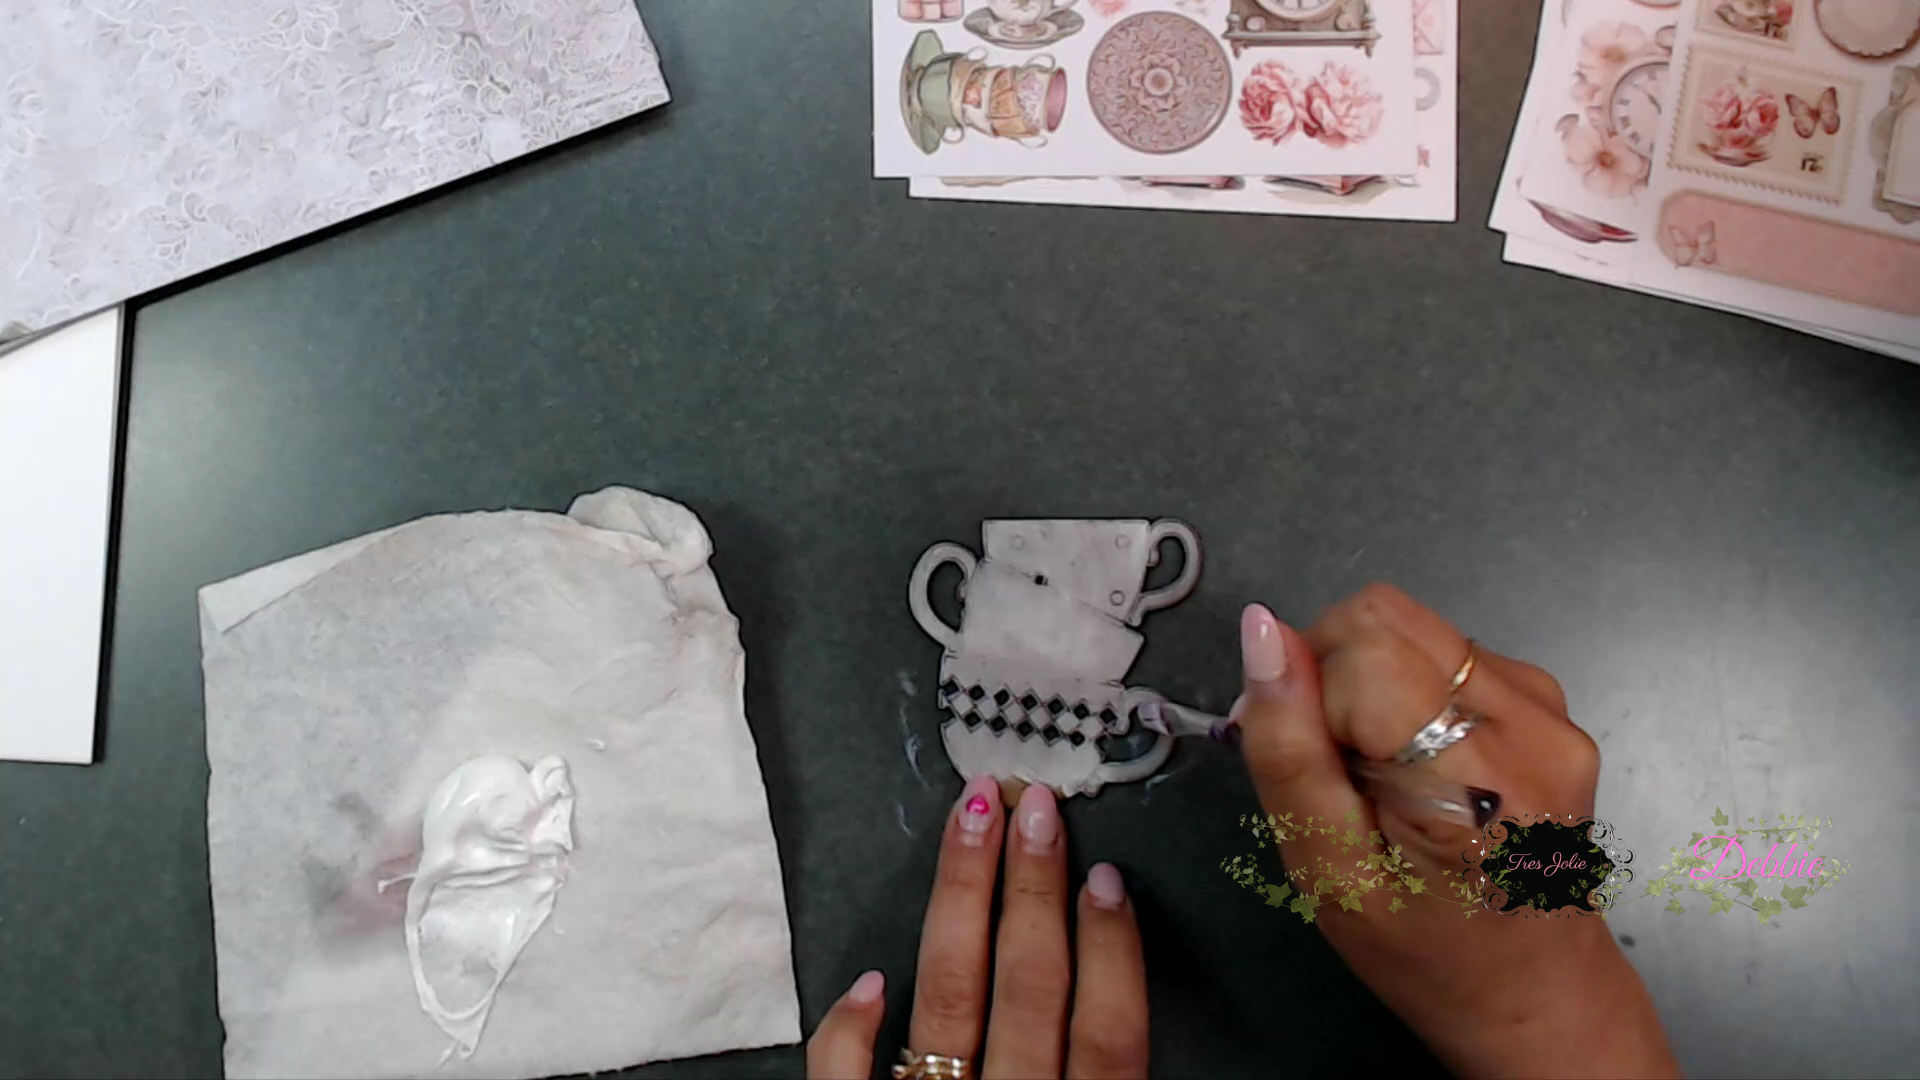
To start I used white gesso on the chipboard tea cup stack from the Card Kit. You can use clear is you don't have white gesso.
Next I rubbed Distress Oxide Kitsch Flamingo on the top cup and use Butter Cream acrylic paint on the middle cup and memento Desert Sand. I then rubbed versa mark on top of them and used clear embossing powder to make them shiny. Then decorated.
For the top mat of the card I used the stamp resist technique. So I used the pattern paper with gray and white as the pattern. I inked versa mark on the doily stamp and stamped randomly around the paper, spread clear embossing powder and use heat gun to set the powder.
Then I used Memento Ink Gray Flannel and rubbed this all over the pattern paper and wipe off excess ink from the embossed images. You can use any ink color you'd like.
Next decorate your card. Here is what my finished card looks like after I was done adding the all the items from the Card Kit. I used the diamond Art Pebbles from a past Mixed Media Kit.
Card #2
For our 2nd card I cut 2 panels out from the pattern paper, each piece is 1/8th inch shorter and layered them on top of each other. I fussy cut out a tea cup of flowers and a window. I also used half of the clock that is an image on one of the pattern papers.
Next I placed foam tape on the back of the window and tea cup. I adhered on the butterfly.
Next cut a piece of paper 1x8 1/2 inches, fold in half and then fold each end inward toward the middle score line you created.
On each end place double back tape or you can add your glue to one end at a time.
Next adhere one end first to edge of the card, as shown below, then adhere the other end.
After you adhere the ends you can attach the little ephemera pieces from the cut a-part cards.
Card #3
This card is so easy. This is the gift card holder. Take the card and fold in 1 3/4 of the front flap.
Next adhere all your mats outside and inside the card. Then you can cut pattern paper and adhere down the panels.
For the gift card holder pocket use a hole punch and only cut a half circle. Next place adhesive on each end of the pocket and fold down. I also added one of the little book mark panels and fussy cut the clock.
With this Card Kit there are so many cut a-parts you can use on cards, tags, and other fun projects.
Below are the cards all finished.
Card #1
Card #2
Card #2 Inside
Card #3
Card #3 Inside
I hope you enjoyed today's step by step tutorial.
Don't forget to post your project on our Facebook Group Page, link is down below. We would love to see what you create.
For more details you can always view the video tutorial process, which is at the top of the page.
Thanks again for joining me, I have all the links listed for you throughout the post so just click on the words and you will be taken directly to the store.
Wishing you all a great day and Happy Crafting.
Don’t forget to follow us on all our social media: