Hi everyone,
Today I am sharing some fun card techniques to make using the March 2025 Card, Tag and More Kit. This Card kit is just beautiful and will make you want to create tons of wonderful projects. Join me below for the step by step tutorial but you can also view the video tutorial as well, which has a few more details.
March 2025 Card, Tag and More Kit

Card #1
To start I used white gesso on the chipboard tea cup stack from the Card Kit. You can use clear is you don't have white gesso.
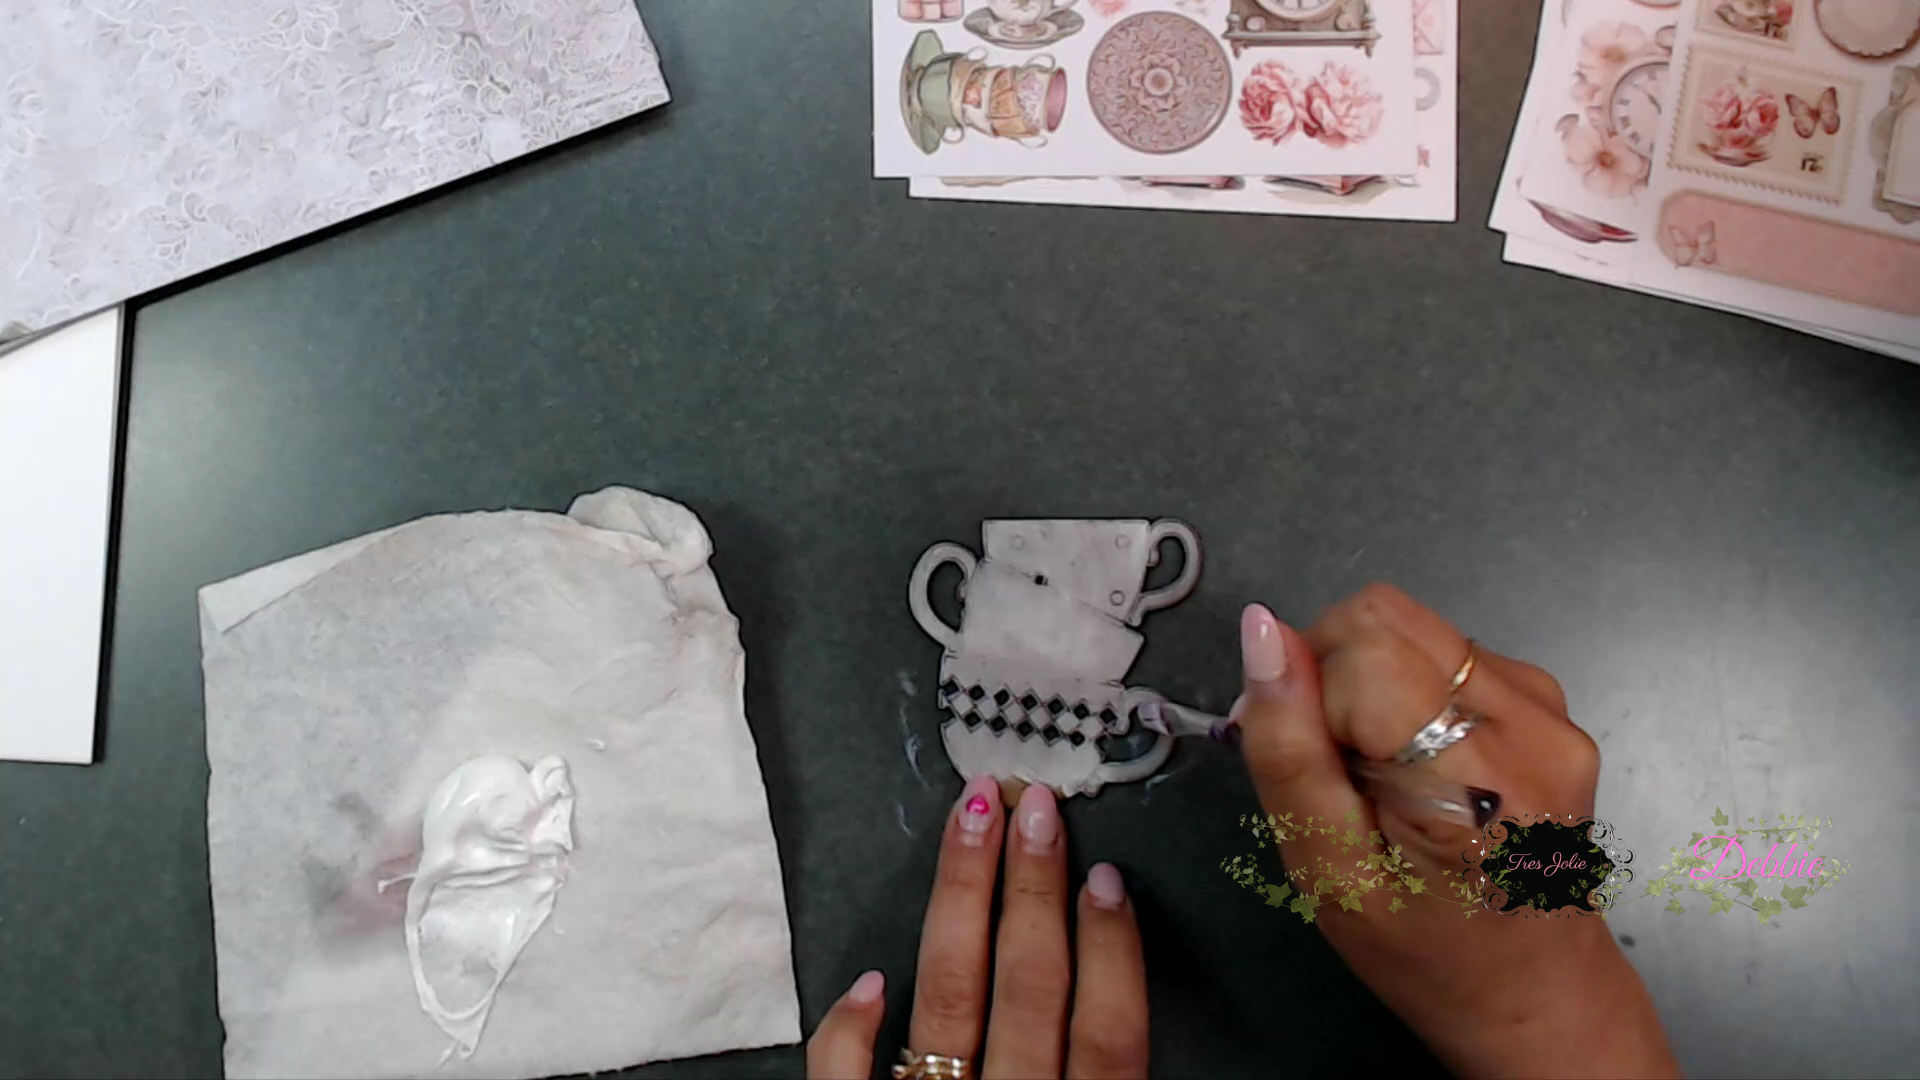
Next I rubbed Distress Oxide Kitsch Flamingo on the top cup and use Butter Cream acrylic paint on the middle cup and memento Desert Sand. I then rubbed versa mark on top of them and used clear embossing powder to make them shiny. Then decorated.

For the top mat of the card I used the stamp resist technique. So I used the pattern paper with gray and white as the pattern. I inked versa mark on the doily stamp and stamped randomly around the paper, spread clear embossing powder and use heat gun to set the powder.
Then I used Memento Ink Gray Flannel and rubbed this all over the pattern paper and wipe off excess ink from the embossed images. You can use any ink color you'd like.
Next decorate your card. Here is what my finished card looks like after I was done adding the all the items from the Card Kit. I used the diamond Art Pebbles from a past Mixed Media Kit.
.jpg)
Card #2
For our 2nd card I cut 2 panels out from the pattern paper, each piece is 1/8th inch shorter and layered them on top of each other. I fussy cut out a tea cup of flowers and a window. I also used half of the clock that is an image on one of the pattern papers.

Next I placed foam tape on the back of the window and tea cup. I adhered on the butterfly.

Next cut a piece of paper 1x8 1/2 inches, fold in half and then fold each end inward toward the middle score line you created.

On each end place double back tape or you can add your glue to one end at a time.

Next adhere one end first to edge of the card, as shown below, then adhere the other end.

After you adhere the ends you can attach the little ephemera pieces from the cut a-part cards.

Card #3
This card is so easy. This is the gift card holder. Take the card and fold in 1 3/4 of the front flap.

Next adhere all your mats outside and inside the card. Then you can cut pattern paper and adhere down the panels.

For the gift card holder pocket use a hole punch and only cut a half circle. Next place adhesive on each end of the pocket and fold down. I also added one of the little book mark panels and fussy cut the clock.

With this Card Kit there are so many cut a-parts you can use on cards, tags, and other fun projects.
Below are the cards all finished.
Card #1
.jpg)
Card #2
.jpg)
Card #2 Inside
.jpg)
Card #3
.jpg)
Card #3 Inside
.jpg)
I hope you enjoyed today's step by step tutorial.
Don't forget to post your project on our Facebook Group Page, link is down below. We would love to see what you create.
For more details you can always view the video tutorial process, which is at the top of the page.
Thanks again for joining me, I have all the links listed for you throughout the post so just click on the words and you will be taken directly to the store.
Wishing you all a great day and Happy Crafting.

Don’t forget to follow us on all our social media:
Facebook: https://www.facebook.com/groups/121919621993809/
Instagram: https://www.instagram.com/tresjoliekits/
Tres Jolie website: https://tresjoliekits.com/
Tres Jolie subscriptions: https://tresjoliekits.com/services/
No comments:
Post a Comment