Followers

Showing posts with label card making kit. Show all posts

Sunday, March 9, 2025

Time For Tea with Fun Card Techniques

 Hi everyone, 

Today I am sharing some fun card techniques to make using the March 2025 Card, Tag and More Kit. This Card kit is just beautiful and will make you want to create tons of wonderful projects. Join me below for the step by step tutorial but you can also view the video tutorial as well, which has a few more details. 


March 2025 Card, Tag and More Kit


Card #1

To start I used white gesso on the chipboard tea cup stack from the Card Kit. You can use clear is you don't have white gesso. 
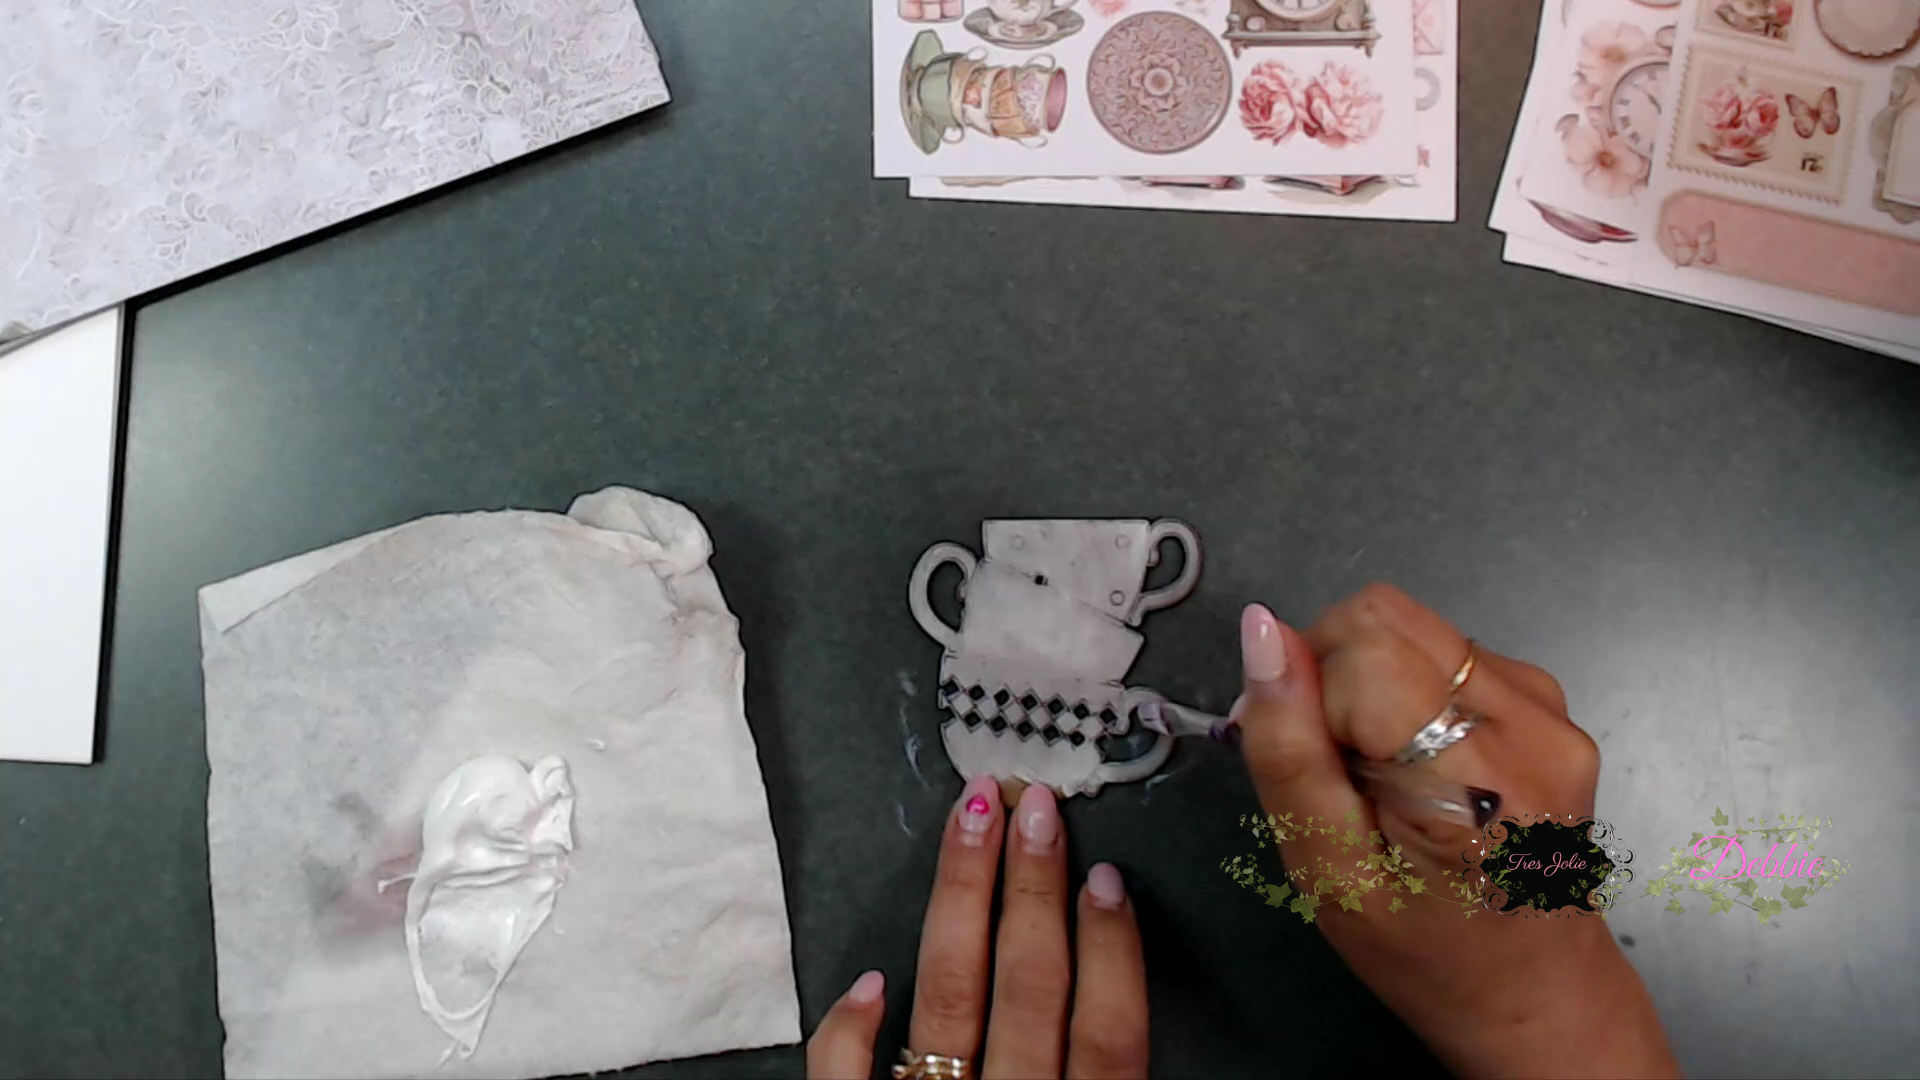

Next I rubbed Distress Oxide Kitsch Flamingo on the top cup and use Butter Cream acrylic paint on the middle cup and memento Desert Sand. I then rubbed versa mark on top of them and used clear embossing powder to make them shiny. Then decorated. 


For the top mat of the card I used the stamp resist technique. So I used the pattern paper with gray and white as the pattern. I inked versa mark on the doily stamp and stamped randomly around the paper, spread clear embossing powder and use heat gun to set the powder. 
Then I used Memento Ink Gray Flannel and rubbed this all over the pattern paper and wipe off excess ink from the embossed images. You can use any ink color you'd like. 


Next decorate your card. Here is what my finished card looks like after I was done adding the all the items from the Card Kit. I used the diamond Art Pebbles from a past Mixed Media Kit. 

Card #2

For our 2nd card I cut 2 panels out from the pattern paper, each piece is 1/8th inch shorter and layered them on top of each other. I fussy cut out a tea cup of flowers and a window. I also used half of the clock that is an image on one of the pattern papers. 


Next I placed foam tape on the back of the window and tea cup. I adhered on the butterfly. 


Next cut a piece of paper 1x8 1/2 inches, fold in half and then fold each end inward toward the middle score line you created. 


On each end place double back tape or you can add your glue to one end at a time. 


Next adhere one end first to edge of the card, as shown below, then adhere the other end. 


After you adhere the ends you can attach the little ephemera pieces from the cut a-part cards.


Card #3

    This card is so easy. This is the gift card holder. Take the card and fold in 1 3/4 of the front flap. 


Next adhere all your mats outside and inside the card. Then you can cut pattern paper and adhere down the panels.


For the gift card holder pocket use a hole punch and only cut a half circle. Next place adhesive on each end of the pocket and fold down.  I also added one of the little book mark panels and fussy cut the clock. 


With this Card Kit there are so many cut a-parts you can use on cards, tags, and other fun projects.
Below are the cards all finished. 

Card #1

Card #2


Card #2 Inside

Card #3

Card #3 Inside


I hope you enjoyed today's step by step tutorial. 

 Don't forget to post your project on our Facebook Group Page, link is down below. We would love to see what you create. 
 For more details you can always view the video tutorial process, which is at the top of the page. 
Thanks again for joining me, I have all the links listed for you throughout the post so just click on the words and you will be taken directly to the store. 

Wishing you all a great day and Happy Crafting. 


Don’t forget to follow us on all our social media:

Facebook: https://www.facebook.com/groups/121919621993809/

Instagram: https://www.instagram.com/tresjoliekits/


Tres Jolie website: https://tresjoliekits.com/

Tres Jolie subscriptions: https://tresjoliekits.com/services/

Thursday, July 18, 2024

Mini Cards, Tags & More Inspiration

 Hi everyone, 

Today I created some items you can create using the scraps from the July Card, Tag and More Kit. Everything I created is using up those cardstock scraps and pattern paper scraps and using the metal die that comes in the kit. I have the links below for the July Card Kit and the video tutorial as well. 


July 2024 Card, Tag and More Kit 


Let's get started  So to begin grab scraps of cardstock around 2 to 3 inches by 8 or 9 inches. Next grab you Card Kit pattern paper scraps. 

To begin I decided to create a handmade envelop I have the measurements down below for you. 

Next cut the bottom left and right rectangular 1/2 inch pieces below the 4 inch score line. Then cut the top rectangular 1/2 inch pieces on the left and right. As shown below, burnish all the score lines in and place tape or adhesive on the 1/2 inch flaps and fold the large piece up and adhere. 


Next I created a large tag to go inside the envelop. This tag is made from scrap pieces from the card kit. the tag measures 2 3/4 x 6 5/8 inches from top to bottom. 
I used the corner metal die to cut into one of the pattern papers on the top and bottom so I can slide a gift card inside. 


Here are the finished Gift Tag and Envelop. 


Throughout the video I used scraps to create small cards and tags using the rest of the scraps from the card kit. I matched my card stock scraps to the pattern paper scraps I had from left over from the kit. 

Here is one of the little cards I finished using the scallop oval and and punched an oval and decorated using the flower and pattern paper from the kit. I also punched a little butterfly using the pattern paper from the Card Kit. 


For this card I used the last large piece of pattern paper from the Card kit and placed some ribbon on it along with using some ribbon from my stash. To secure the ribbon and bow I placed adhesive glue dots behind the ribbon and bow as well as added a few to the inside of the card. 


 Here is a photo of all the little gift tags and mini cards I created using the rest of the Car, Tag and More Kit scraps along with cardstock scraps and other items from my stash. 


Photo of all the items I created using up everything from the Card, Tag and More Kit


I hope you enjoyed today's step by step tutorial, remember I have the video tutorial for your convenience. I had a great time using the Card, Tag and More Kit to create some nice gift tags, cards and mini cards using up all the scraps from this months Card, Tag, and More Kit. I hope you found this inspirational. 
 For more details you can always view the video tutorial process, which is at the top of the page. 
Thanks again for joining me, I have all the links listed for you throughout the post so just click on the words and you will be taken directly to the store. 

Wishing you all a great day and Happy Crafting. 


Sunday, September 24, 2023

Fun & Interactive Cards using September's Card Making Kit 2023

 Happy Sunday Everybody,

Today I am sharing my last project for September using the card making kit. I have to say if you like easy and quick cards this is a great kit to have, super easy to as the cards are scored and cut for you all you have to do is adhere your paper to them and add some flowers or embellishments of your choice and you are done. I have the link down below so you can grab your September Card Making Kit for your convenience. Also don't forget to join our Monthly Challenges for a chance to win a prize, all links down below.

Card 1 -
To get started I am using 3 cards from the September Card Making Kit along with the beautiful 49 and Market Blossom 6x8 paper and flowers.


The first card is an elongated card (like a Z fold card). I placed the card on top of my pattern paper and traced around the outer edge of the card first.

Next I folded back the card and traced the inside middle area that folds back. 


Next cut out the piece you traced. This is going to be your template for the second piece. Place this piece you just cut out and trace on another piece of pattern paper and cut out.

Now you should have two pieced one for left and one for the right side of the card.

Next measure the middle part of the card and the middle panels of the card and cut out the pieces (as seen below). I used a pink foil paper from my stash for the middle panels.

Next I layered my pattern paper on top of the pink foil paper. I just love the flowers on this paper
they are so pretty.


Next I stamped a sentiment on the white area of the pattern paper. I really like how this on this pattern paper you have room to stamp sentiments.


Now our card is finished. Super easy and quick.


Card 2 - 

I am sharing this part as it was a mishap so for this card pard please do not follow - I placed the card in my embossing folder and it tore. So I will be fixing it so we can still use this card.

So to start we are going to create a hinge for our torn card. Cut one piece of white Cardstock at 1x6 inches score at 3/8, 1/2, 5/8 inch, this gives you a nice spine for your shaker card.

Next we will adhere this to the inside of the card pieces. Cut away any extra pieces.


Next cut a 5x5 inch acetate and adhere to the inside of the open window of the card.


Next add your foam strips around the acetate window we just adhered.


Next add your shaker bits to the middle.

Next for the inside of the card I used a "Happy Birthday" die and adhered it to the inside of the card piece I'm laying down for the backing of the shaker card. I did ink it a bit so it would show up on the background and added some stickles for a nice sparkly touch. Now you can remove the backing from the foam tape. 


Place your card backing on top and press and burnish down.


For some decoration around my card I added some of the pink Little Birdie flowers and a butterfly from my stash, and we are done with Card 2.


Card 3 -
So for Card 3 you will need your nesting circle dies and the card with the circle in the middle of it. Below I have pictures of all the circles I cut out. When cutting out the circles be sure to get the leaves and flowers so they will all fit together nicely to create an image.


Next the pictures below show how I placed each circle piece down to create the flower image. Adhere down once you have the each piece they way you would like it. 


Next I placed a piece of pattern paper on the inside for my sentiment. 


Once I adhered on my circles to the card I added on a die cut sentiment and some of the butterflies I fussy cut from the paper collection. 


Here are all the cards we just finished. 

I hope you enjoyed todays card projects using the September Card Making Kit. I had a great time coming up with ideas on how to use these cards, they are so easy and quick to create. All you need to do is punch them out, cut your pattern paper and decorate so super easy & quick. 
Thanks for joining me, until next time 
Happy Crafting!!


September Cardmaking Kit - https://tresjoliekits.com/collections/card-kit/products/cards-tags-and-more-kits-2023?variant=42567823065274


Follow us on our social media. (see links down below) Facebook: https://www.facebook.com/groups/121919621993809/ Instagram: https://www.instagram.com/tresjoliekits/ TIKTOK: https://www.tiktok.com/@tres_jolie_kit_club Tres Jolie website: https://tresjoliekits.com/ Tres Jolie subscriptions: https://tresjoliekits.com/services/ Tres Jolie blog: https://tresjoliekits.com/blog/ Tres Jolie YouTube: https://www.youtube.com/channel/UCVBFOOKxZzsXs2tl4MMqSKg?view_as=subscriber Tres Jolie Pinterest: https://www.pinterest.com/tresjoliekits/