Good morning,
It's Deb here today with a super cute way you can display those cute photos of your kids or grandchildren within a little shaker plaque/frame. For this project I used Clear Scraps Mini Shaker Plaque Rectangle and Cherish Chipboard Word. In the shop there are tons of words to choose from along with a variety of Shaker Shapes. Below shows you what I used along with the links.
To start off with we are going to paint the Cherish Chipboard Word using Sky Blue paint. I thought this color was perfect coordinating with the pattern paper I selected.
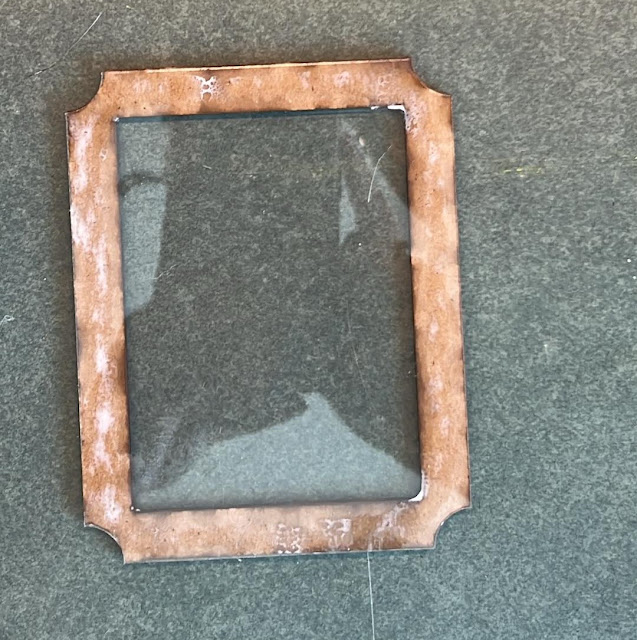
To put the Shaker Plaque together you will have 3 frames and 1 acetate piece. Adhere 2 of the plaque frames together and then adhere the acetate piece on top of the 2 plaques you just adhered. The 3rd plaque frame we will cover with pattern paper.
Here is what the 2 frames and acetate piece look like once all three are adhered together.
Next take the 3rd plaque frame and trace around the outside of the frame on pattern paper and cut it out.
Adhere the pattern paper to the frame.
Turn over the and use your xacto knife to cut from corner to corner, in the middle, like cutting pizza slices. Then use your xacto knife and cut along the inside edges. All your little pieces should come out fairly easy, if they don't come out just go over it again with the xacto knife.
Here is what the frame looks like once your done.
Next place double back tape and glue on the back of the plaque/frame and place your photo on top. Make sure you burnish the photo down.
Once your photo is adhered place down your shaker bits on top and adhere the pattern paper frame on top of the acetate. Then adhere the frame on top, be sure to burnish down the sides really well so the shaker bits do not fall out.
Now find a frame that you can hang on the wall or place up on a table. Take out all the cardboard that is inside the frame and use one that you will cover with pattern paper, as shown below.
Once you have the cardboard papered adhere your picture shaker plaque/frame on top.
Once you place the cardboard and the backing back onto the frame you can decorate how you would like. Since this is a photo of my grandson I thought I would use a little banner that I fussy cut along with the little teddy bears and blue tennis shoes. I adhered the Cherish Chipboard Word on the top of the frame. This is so cute.
I hope you enjoyed today's project and that you got some inspiration to try this out. I just love creating picture frames with photos of my grandkids.
Thanks so much for joining me I have the links to both of the items I used in today's step by step tutorial above and throughout the page.
I hope you have a wonderful day and Happy Crafting


.png)
No comments:
Post a Comment