Hi Crafty Peeps,
I am so happy to be here with y'all again. Today I am sharing a few amazing techniques you can use with October Mixed Media Kit from Tres Jolie, along with using some of the Laser Cut Elements from the October Scrapbook Kit. I did a beautiful Fall Wreath last week and this week we are creating some fun cards using these Little Birdie Alcohol Inks. I have a step by step tutorial below along with a video tutorial and the links for your to grab your Mixed Media Kit before they are gone.

I will be sharing two card on here but if you would like to see the video tutorial I do share how to create a third card using a technique that is similar to this stencil technique.
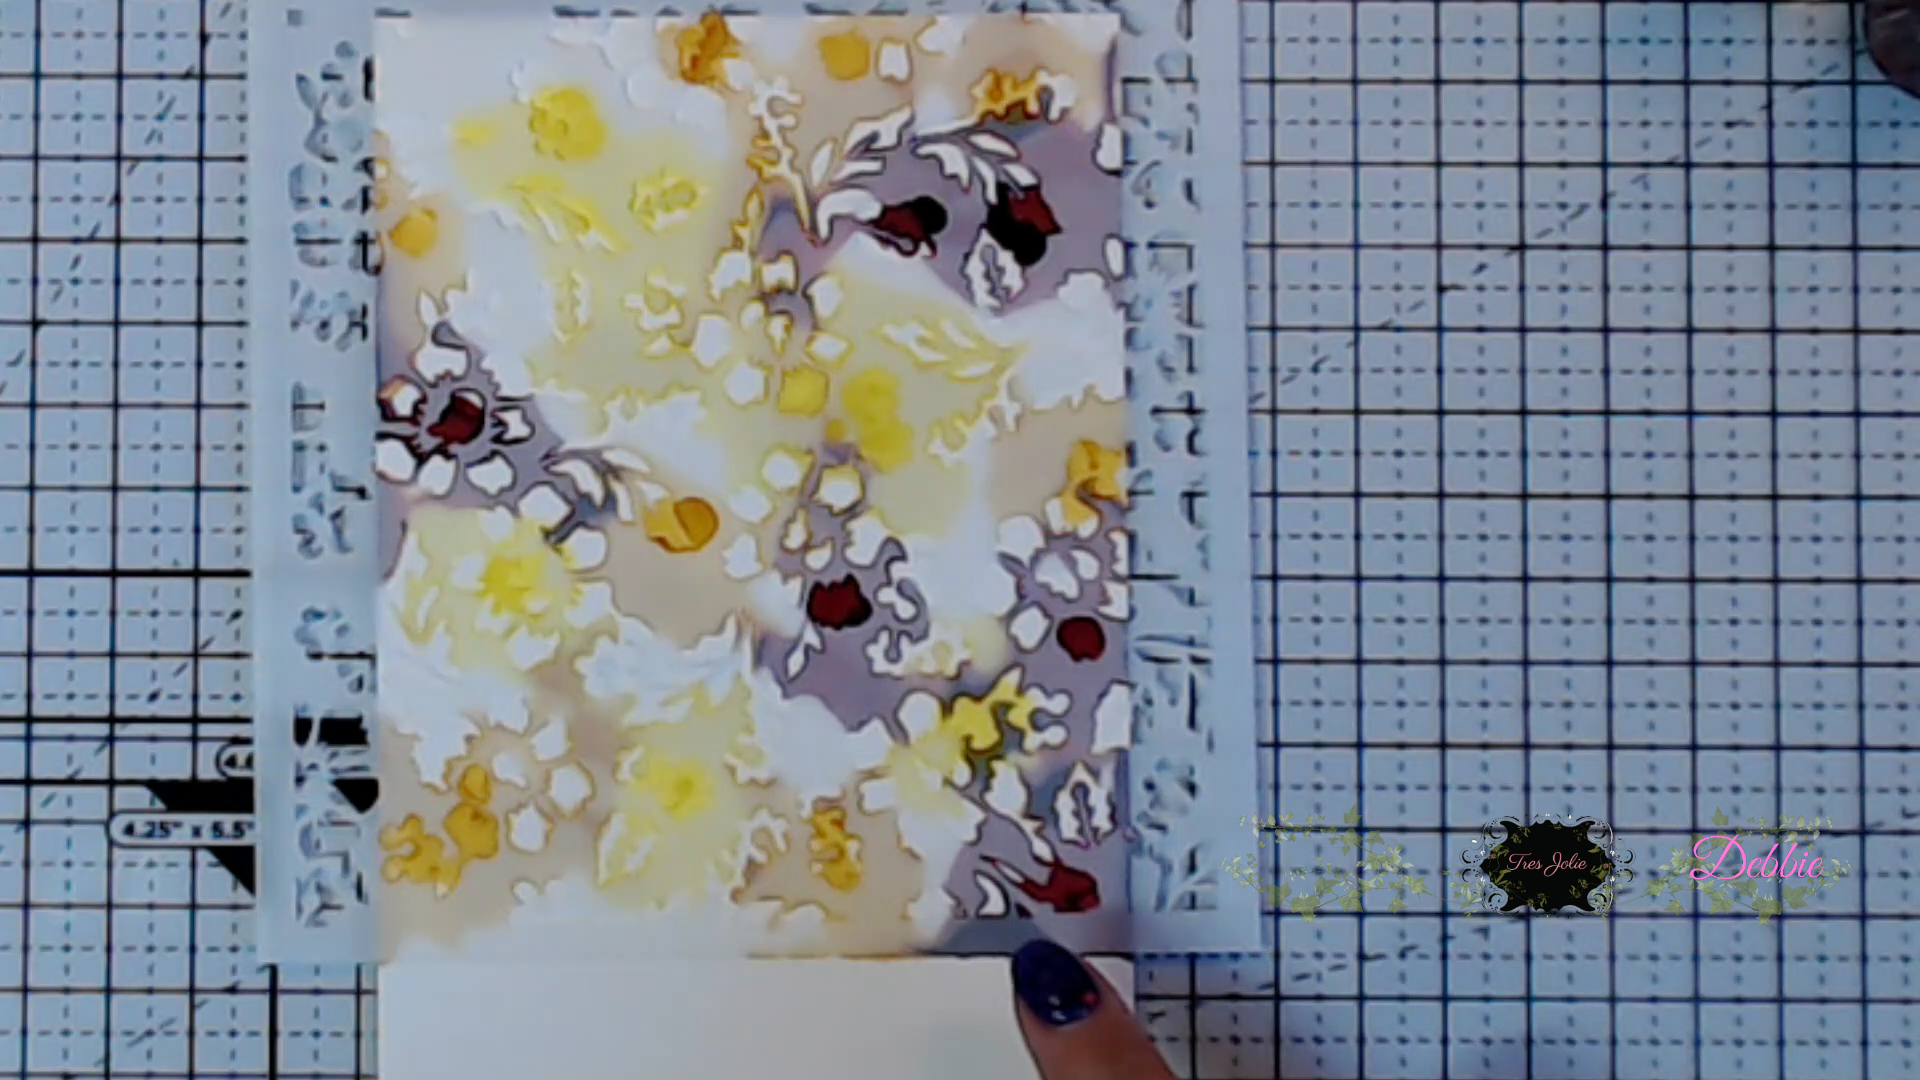
To start this stencil technique place a stencil on your photo paper or you can use yupo paper. You need a paper that is non-porous. I use a paper that I've had in my stash for a long time, that I acquired from stamp'in up. It just like photo paper.

Next place your alcohol ink colors in various areas around your stencil. The alcohol ink will run underneath the stencil but that is okay, that is what we want. Here you can see the yellow alcohol ink running underneath the stencil leaving the open space of the stencil opened. It's basically giving us the negative of the stencil print.


.png)
.png)
I hope you enjoyed today's step by step tutorial, remember I have the video tutorial for your convenience.
These cards turned out fantastic using some really fun techniques that are quick and easy to do and you can create cards fast. Remember your inks are fast drying so you don't have to wait very long for them to dry if using by themselves like with the straw technique, with the stencil technique you can cut out papers and do other things while you are waiting for the inks to dry under the stencil but it doesn't take long. I hope you got some great ideas and inspiration from today's crafty post.

Don’t forget to follow us on all our social media:
Facebook: https://www.facebook.com/groups/121919621993809/
Instagram: https://www.instagram.com/tresjoliekits/
Tres Jolie subscriptions: https://tresjoliekits.com/services/
Tres Jolie blog: https://tresjoliekits.com/blog/
Tres Jolie YouTube: https://www.youtube.com/channel/UCVBFOOKxZzsXs2tl4MMqSKg?view_as=subscriber
Tres Jolie Pinterest: https://www.pinterest.com/tresjoliekits/
No comments:
Post a Comment