Hi Everyone,
It's Debbie here sharing today's fun Shaker & Arrow Valentine's Layout using the Clear Scraps Mini Shaker Heart and the 6"Heart Arrow Stencil.
I know we are in Christmas mode right now, and it's not close to Valentine's Day but you can still use this short tutorial for inspiration for later. These shaker hearts are just so much fun and the stencil adds a nice background to any project layouts, cards, wood projects, canvas or tags.
To get start I have a photo below of the supplies I used with links above and right here just click on the products it will take you directly to the shop.
Supplies - Clear Scraps Mini Shaker Heart and the 6"Heart Arrow Stencil ; Simple Stories Simple Page Kit All My Heart. 
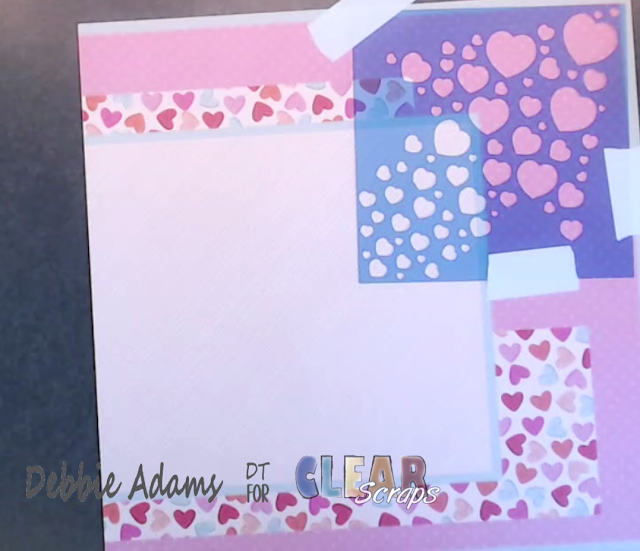
To begin I taped down my 6"Heart Arrow Stencil in the upper right had corner.
I went around the heart stencil in circular motion very lightly as I wanted to have a soft look to the hearts.
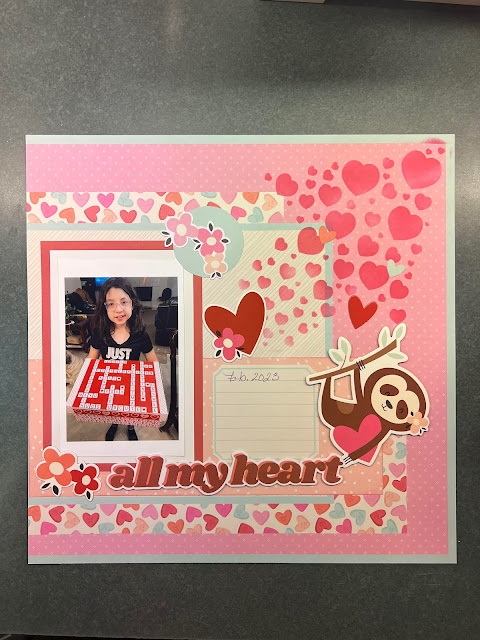
Here is the first layout page completed. I like the arrow heart up in the corner it adds a nice pattern to the page. This is my granddaughter after we finished her Valentine's box for her school party this year. She really enjoyed using my craft supplies to create her Valentine's box.
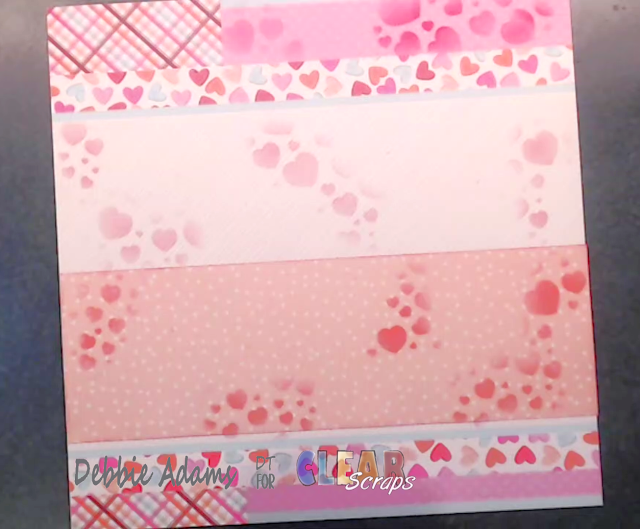
Here is page 2, I like the shape of the Heart Arrow but I also like the versatility of it as I used the heart stencil around the page sporadically placing it in different areas. I did some hearts dark and some light. So you have a couple different ways to use the 6' Heart Arrow.
For the second page I wanted to use the Shaker Heart. As I have posted a few layouts using other shakers. I just love that shakers add a bit of fun and add an interactive part to the page that everyone can enjoy.
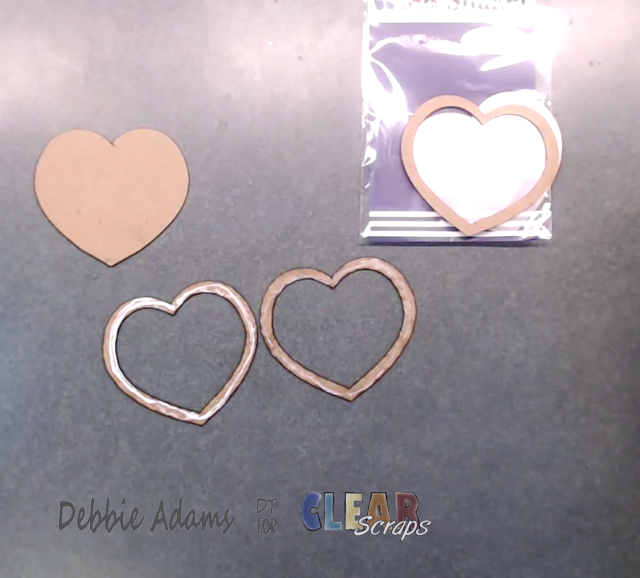
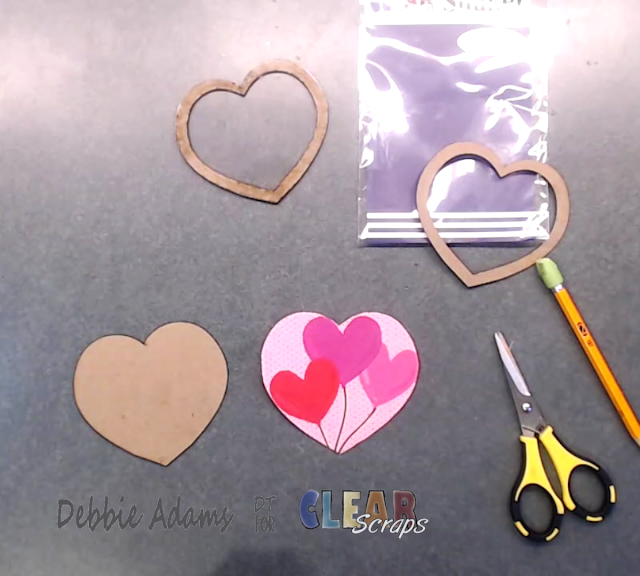
To begin putting the shaker together you will see 3 frames and you will place adhesive on one of them and glue two heart frames together. (see below)
Next I traced and cut the pattern paper I wanted to adhere to the full chipboard heart.
Next I adhered my acrylic piece to the top of the frames I glued together and painted the other frame. The painted frame will be adhered on top of the acrylic frame piece. ***Be sure to take off the clear film on both sides of the acrylic piece before adhering****
Next you can add you shaker bits or what every you would like to place inside your shaker. Now I have the chipboard heart papered and the heart frames with acrylic piece adhered together.
After you place your shaker bits inside the heart you can adhere the frame on top and be sure burnish down so the shaker bits do not fall out.
I placed the heart down in the upper left side corner. I just love how this turned out.
Here is page 2 finished. I really like how the stenciled hearts and the shaker heart look on this layout. Definitely adds some brightness and character to the page.
Here are both pages placed side by side for you. I definitely will be using the 6"Heart Arrow Stencil again I really like it.
I hope you enjoyed today's project and got some inspiration for using the shakers and stencils from Clear Scraps. There are a lot of variety of shakers and stencils to choose from in the shop.
You can press the link here to check them out at the Clear Scraps Shop.
Don't forget to join us on our Facebook page creative page and post your beautiful projects we would love to see them all.
Thank you for joining me today and Happy Crafting.



No comments:
Post a Comment