Hi everyone,
I hope you all are having a great day. Today I have a fun 12 x 12 Folio for you using the May 2024 Scrapbooking Kit. Below I have the tutorial which shows you the process in creating this 12 x 12 Folio. Super easy and fun to do and you can add your own twist to it inside with adding flaps, flips or other pages.

To start off you will need to cut a piece of chipboard 1 x 12 inches and cut cardstock piece at 2 1/4 x 12 inches

Next place the the chipboard in the middle of the spine as shown below. Set aside.

Now cut 8 pieces of card stock at 2 x 12 inches and place double back tape on the top and bottom of the strips horizontally.

Now slide half of the strip under one of the sides of the 12 x 12 chipboard (Do Not Adhere) fold over the top half to create a crease. Do this for both 12 x 12 chipboard pieces.

Next pull the strip out and cut both edges at a slant. So miter both edges, do this for all 8 strips.

Now you can place the strip back under the chipboard and adhere down.

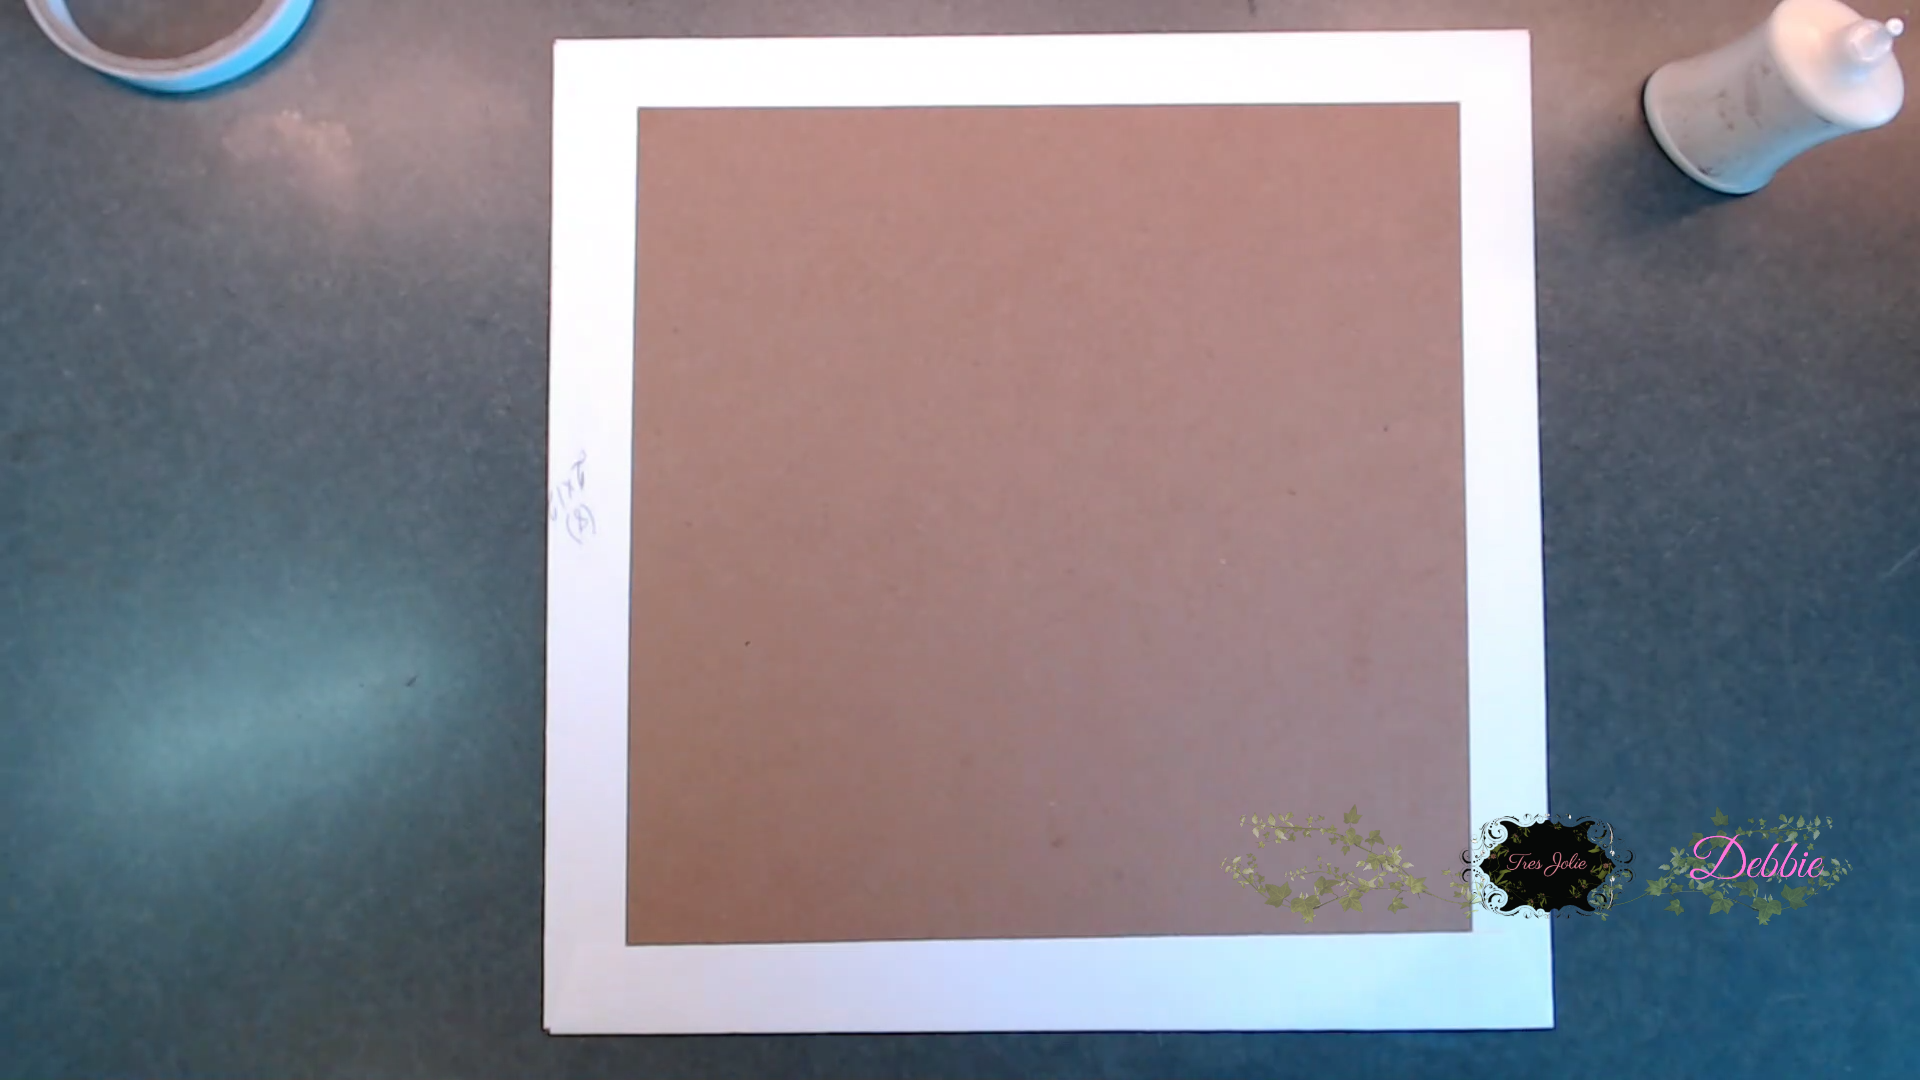
Here is what the finished chipboard should look like with all 4 sides finished.
Creating the spine. Place down a strip of tape on top of the chipboard piece.

Next place the 1/2 inch flap from the spine under the 12 x 12 chipboard (front cover) and adhere down and burnish.


Do the same on the other 12 x 12 chipboard piece (back cover)

Cut a piece of 2 pieces of pattern paper 2 1/4 x 12 inches and lay down on the inside spine and the outside spine and adhere down be sure to use your bone folder to form creases in between the chipboard pieces. so it lays down flat.


Next you can adhere your pattern papers on the outside cover and inside cover.

Next to create our pages cut 2 pieces of 1 x 12 inch strips and score 1/2 inch and you'll need 2 pieces of 12 x 12 cardstock.

Adhere one side of the 1/2 inch flap from the hinge to your 12x12 cardstock with the fold side adhered on the edge.

Next adhere the of 1/2 inch flap to the spine. Do this for both pages.
Here is the front page layout. Super easy to create. The pink strips are 2 x 12 and the wood grain strips are 1 1/2 x 12 inch. I created banners from the scraps and created a photo mat.

On the back of page one I created a photo mat that lays horizontal on top. I cut out the large tags from the cut a-part page and placed photo mats that are 2 1/2 x 3 inches on each tag. Decorated with ephemera, flowers and cut a-parts.

Here are some photos of the inside for you to view. I truly love how these pages turned out super easy to do and you can definitely add flips and flaps or other elements to your own style. I can't wait to finish this up and place some more photos inside. I hope you like this 12x12 Folio as much as I do.

Middle part of the folio

Back of the Folio

I hope you enjoyed today's step by step tutorial. For more details you can always view the video tutorial process, which is at the top of the page.
Thanks again for joining me, I have all the links listed for you throughout the post so just click on the words and you will be taken directly to the store.
Wishing you all a great day and Happy Crafting.

Don’t forget to follow us on all our social media:
Facebook: https://www.facebook.com/groups/121919621993809/
Instagram: https://www.instagram.com/tresjoliekits/
Tres Jolie website: https://tresjoliekits.com/
Tres Jolie subscriptions: https://tresjoliekits.com/services/
Tres Jolie blog: https://tresjoliekits.com/blog/
Tres Jolie YouTube: https://www.youtube.com/channel/UCVBFOOKxZzsXs2tl4MMqSKg?view_as=subscriber
Tres Jolie Pinterest: https://www.pinterest.com/tresjoliekits/
No comments:
Post a Comment