Followers

Showing posts with label stencil. Show all posts

Monday, July 8, 2024

8x8 Acrylic Calendar Display for Clear Scraps

 Good Morning everyone,

I hope you all are having a great day. Today I am sharing with a really fun idea you can do using the 8x8 Acrylic Page Display along with the 6 inch Flower Pot Stencil from Clear Scraps.  Not only can you use this to display your beautiful layouts but you can also use it for monthly calendars. I have a fun a step by step tutorial for you below. 


        8x8 Acrylic Page Display                                         6 inch Flower Pot Stencil


Let's start by removing the plastic film from both sides of the Page Display Case. 
Then cut a piece of card stock at 8x8 inches. 


Next print out a Calendar. You can find free calendars on the internet for every month. I think this would be fun to change out every month with a new design, especially during holidays. 
Adhere the calendar to the 8x8 inch card stock, and trim off the excess paper. 


I also cut out a few borders to go around the edges of the calendar. I thought a fun summer theme would be great for July. 


Next bring in the 6 inch Flower Pot stencil and inks. I thought it would be fun to ink up the calendar with the flowers. You can still write in any appointments or events in the calendar.
I used my memento inks. 


I did five flowers, and only three pots at the bottom. I think this is looking pretty fun to display on my frig. 


Next I used some of the stickers from the paper collection to decorate around the calendar. I added some ice cream cones, a fun summer sentiment, summer drink and a banner. I also added some flower stickers in the middle of each stenciled flower. On the flower pots I drew a little chevron design on top of each flower pot using different colored ink pens. 

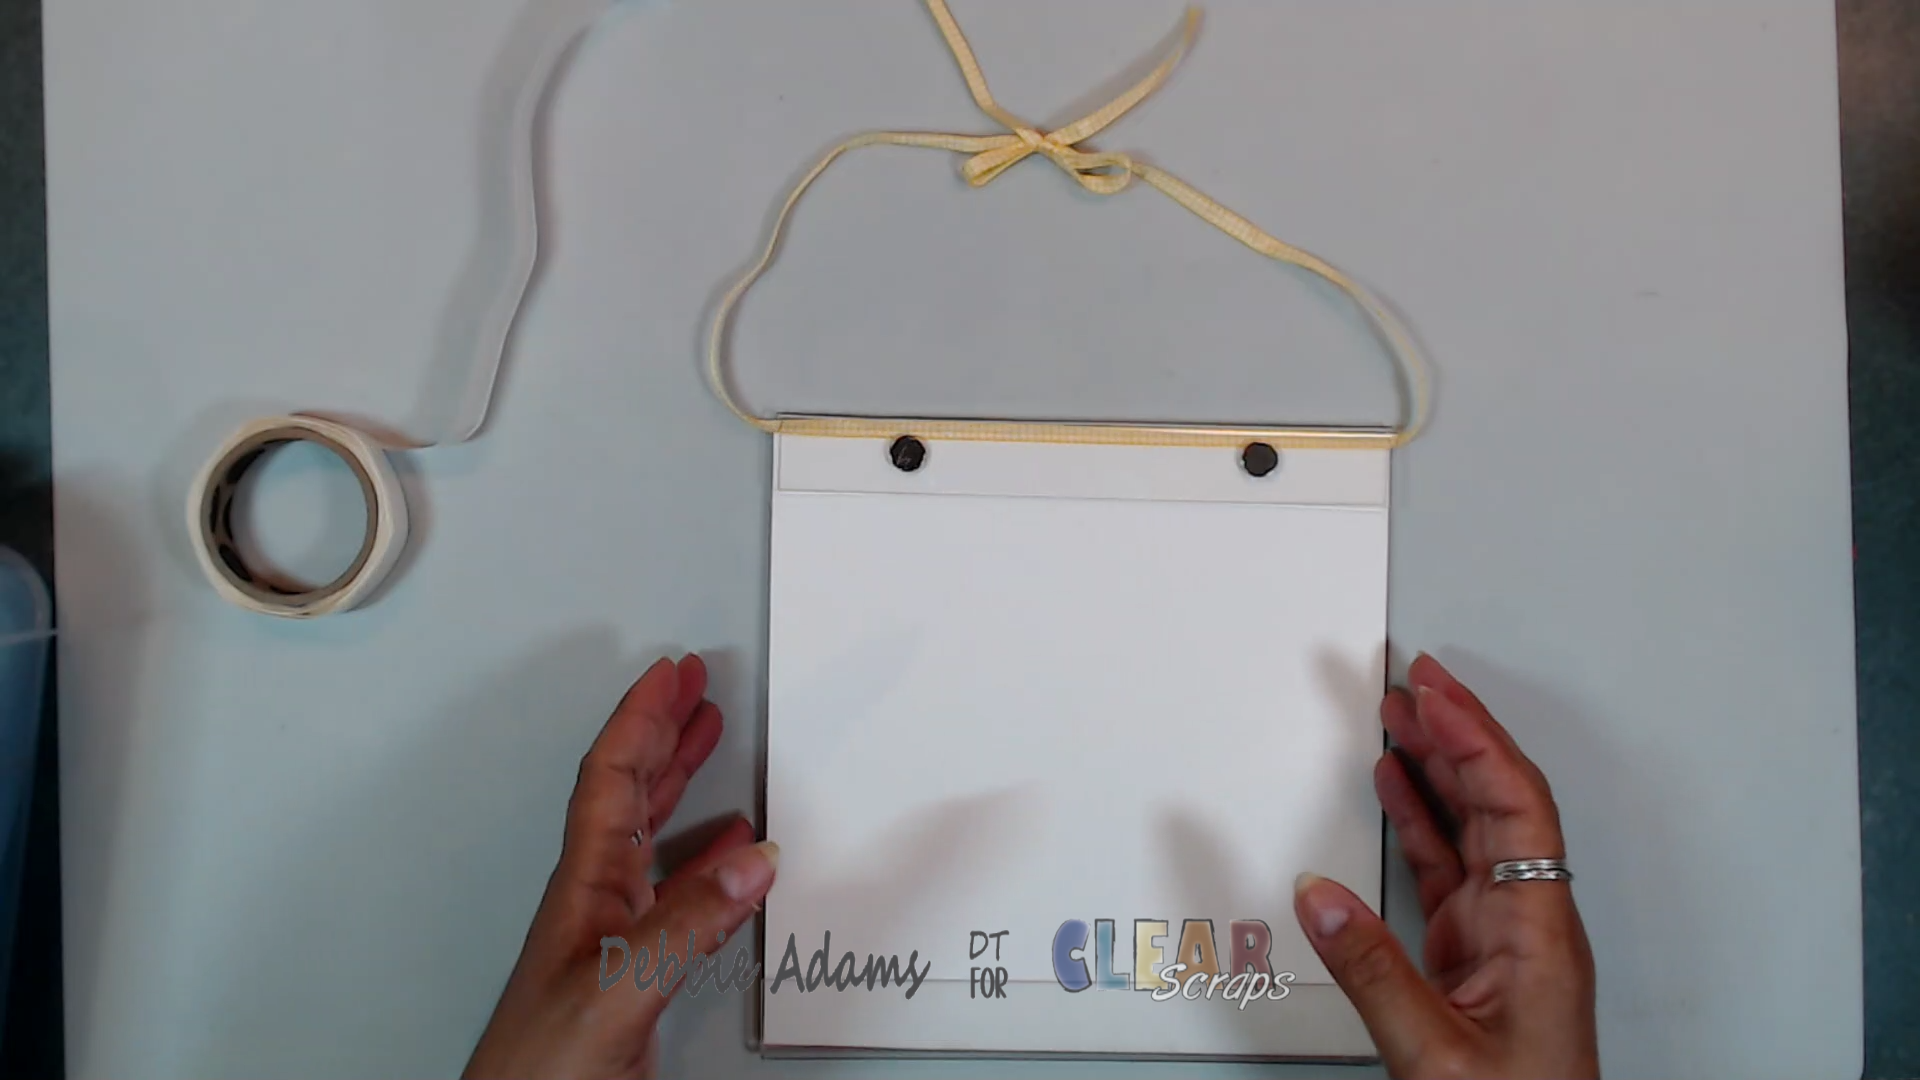
Next I added some magnets to the back for placing on the frig or you can place a ribbon under the little frame and tie as I did below. 


Here is the finished Calendar. I think it turned out so good. I really like this idea and how fun to change out each month with a new design on it. 


I hope you enjoyed today's step by step tutorial showing how you can use this fun 8x8 Acrylic Page Display not only for displaying a page layout with photos but also as a fun display for your calendars. I hope you check out this fun 8x8 Acrylic Page Display and the 6"Flower Pot Stencil both are great items to use for your home decor and other craft projects. To check our these fun items just click on the name of each product and it takes you directly to the item in the Clear Scraps Shop. 

Thanks for joining me today.

Happy Crafting my Friends, 

Sunday, June 30, 2024

Memories Of You Layout for Tres Jolie

 Hi everyone,

Today I'm sharing this beautiful layout with you using box June Mixed Media Kit and Scrapbook Kit. I hope you enjoy today's step by step tutorial and I have a video tutorial of the Scrapbook Layout Process for your convenience as well. I have all the links down below for you.


            June Mixed Media Kit                                                    June Scrapbook Kit


To Start out I mixed the modeling paste with the acrylic paint Ochre. Then I added clear gesso to my 12x12 pattern paper. Once the gesso dried I placed the stencil down and spread the mixture on top of the 12x12 pattern paper. I spread the paste in various areas. Now put aside to dry or use your heat tool.

Next I painted the heart chipboard piece from the Scrapbook Kit using the Carmine acrylic paint from the Mixed Media Kit


For this technique I chose a 12x12 paper with some images on them from the Scrapbook Kit and gently tore around them. I thought these two pieces were just beautiful. 


After I finished tearing the images how I wanted I mixed the ochre acrylic paint with a bit of water and used my paint brush to gently paint along the edges of the torn images. For this technique you can use inks but I thought using the paint would be a nice touch. 


Here is the finished layout. I added the "Memories Of You" sentiment from the ephemera pack, and adhered foam squares to each letter and finished off with some Glossy Accents. I also had fussy cut out the large butterfly from one of the 12x12 pattern papers to tuck it a bit under the photo mat, and adhered flowers on top of the butterfly. The chipboard heart I placed down below in the right hand corner. 
I did use the stencil again to add some paste to the right side by the butterfly as the space seemed a bit empty. I hope you like today's Scrapbook Layout and you found some great inspiration 


I hope you enjoyed today's step by step tutorial. I had a great time using all both kits June 2024 Mixed Media Kit  and  June 2024 Scrapbooking Kit to create this beautiful Memories Of You Layout. 
 For more details you can always view the video tutorial process, which is at the top of the page. 
Thanks again for joining me, I have all the links listed for you throughout the post so just click on the words and you will be taken directly to the store. 

Wishing you all a great day and Happy Crafting. 


Thursday, June 6, 2024

Butterfly Dream Canvas for Tres Jolie

 Hi everyone, 

I hope you are having a great day. Today I have a colorful and beautiful Butterfly Canvas for you. I created this canvas using the June 2024 Mixed Media Canvas from Tres Jolie. 

I have video tutorial down below for your convenience.


     June 2024 Mixed Media Kit                                     June 2024 Scrapbooking Kit


If you have the Mixed Media KitMixed Media Kit we will be using the canvas, stencil and the modeling paste that come inside the Mixed Media KitMixed Media Kit


Place the stencil on top of the canvas and spread the modeling paste on the stencil, as shown below. 


Once you are done spreading the modeling paste take off the stencil and wash the stencil right away. Set the canvas aside to dry for a few hours or you can use the heat tool but be sure to lightly dry the canvas do not get the heat tool close to the modeling paste or it will melt the paste. 


After your canvas dries place some of the finnabair carmine paint on top of the canvas and spray with water so the paint runs and easy to spread around with the brush. You can also dab with paper towels.


below you can see the carmine paint and I used paper towels to blot. Next I added some of the Ochre to the canvas and spritzed some water on it and spread around around. 


Here is what the finished canvased look like after I dabbed with paper towels. Let dry or you can lightly dry with the heat tool. 


I fussy cut the large butterfly out from the Scrapbooking Kit, the paper collection is by Uniquely Creative. Adhere the butterfly to the canvas. I did fussy cut out the extra flowers and adhered some on the bottom. 


I adhered down the word DREAM using the letters from the ephemera pack in the Scrapbooking Kit ephemera pack in the Scrapbooking Kit. I then cut out some flowers from the 2nd 12x12 pattern paper with the large butterfly from the paper pack. 


I placed foam tape on the back of the flowers. 


Adhere the flowers down. I think this gives the flowers a nice 3D look. 


Here is the finial Butterfly Canvas . I added one of the little round stickers in the right hand corner from the sticker sheet that comes in the Scrapbooking Kit. I like the simplicity and elegance of  this canvas. It really comes together quick and makes an excellent home decor in a hallway or bathroom or bedroom wall. Would make a nice gift for a friend.
I hope you enjoyed today's step by step tutorial. I had a great time using both the June 2024 Mixed Media Kit  and  June 2024 Scrapbooking Kit to create this beautiful and colorful Butterfly Canvas for you all.  For more details you can always view the video tutorial process, which is at the top of the page. 
Thanks again for joining me, I have all the links listed for you throughout the post so just click on the words and you will be taken directly to the store. 

Wishing you all a great day and Happy Crafting. 


Monday, March 18, 2024

Hello Peeps Easter Cards

 Hi Peeps 

I hope you all are doing well. Easter is on it's way can you believe it. So with that being said I have some fun Easter Cards you can create for Easter using Clear Scraps 5x9 Flowers Layering Stencil, Bunnies Chipboard Embellishments and the 4 x6 Hello Peeps Stencil

I hope you enjoy the step by step tutorial below. Down below I have the products I used along with the name & links, just click on the name and you'll be directed to the store. 

Here's a photo of the finished cards. 


Bunnies Chipboard Embellishments                                 5x9 Flowers Layering Stencil


Card #1

To start create a regular card base measuring 4 1/4 x 5 1/2 inches. I place a piece of removable tape diagonal, as shown below. 

Next take the  5x9 Flowers Layering Stencil place it a little above the tape and stencil your first flower, after you have the first scoot the stencil over and ink the next flower down and keep going all over the white space. 


Once you have finished the top of the card move the tape a little bit down so you have about a 2 inch diagonal space between the top and bottom flowers you're stenciling. 


Next I decided to use brown flock for the Bunnies Chipboard Embellishments. You can either use double back tape as shown below or use your glue. I do prefer the glue over the tape I feel it's just easier. After your done applying the adhesive you can place the chipboard piece in the flock and cover it all over. 


Here is the end result. One bunny I used glue and the other bunny I used double back tape. But you can decorate your Bunnies Chipboard Embellishments however you'd like, even paint them. 


Next I covered the midsection with yellow glitter paper and layered with pink cardstock. I added flap back enamel dots from my stash. I also used a Happy Easter metal die from my stash for the sentiment. 
Now the card is finished. 


Card #2

For card #2 we used the 4 x6 Hello Peeps Stencil . This stencil is so cute. I laid it down and just applied my ink as shown below. The size of this card is 4 1/4 x 5 1/2 inches.

Here is what the front of the card looks like after I was done inking with the stencil. I did the cute bunnies in different colors and the words to match. Now you can decorate it. 


I thought it would be nice to use the  5x9 Flowers Layering Stencil and then fussy cut these out to decorate around the card. For the centers of the flowers I used Nuvo flower pollen, but you can use enamel dots or what ever you have in your stash. 


Here is where I place a thin piece of green glitter paper and pattern paper on the top and bottom of the card just to give a little bit of nice border to the card. Below you can see I fussy cut some of the flowers.


Here's the finished card. Super easy peasy right? I added a few enamel dots on the left side and a pink butterfly from my stash to the card. This card is so cute I just love the 4 x6 Hello Peeps Stencil inked with fun bright colors, so full of Spring and Easter. 


Card #3

The size of this card is 4 1/4 x 5 1/2 inches. The yellow glitter cardstock mat is 5 1/4 x 4 inches, the blue polka dot mat measures 4 7/8 x 3 3/4 inches. After you cut the mats  you can glue together. 


For this card I created my own picket fence out of the wooden pattern paper I had in my stash. I cut 4 pickets at 1 x 3 inches and snipped of the top portion to form the picket fence. 


The slat that goes across the pickets measures 1 x 5 inches. I inked each piece with ink to make them a little dark around the edges. I did add foam tape to the back of each picket fence and then laid the long slat piece on top (there is no foam tape on this piece).


Adhere the mat to the card base and decorate the front as you would like. I added the second little Bunnies Chipboard Embellishments on top of the fence along with the remaining stenciled flowers I fussy cut. I found the carrots and grass in my stash and added them. This turned out so adorable. 


I hope you liked today's step by step tutorial. I like that these cards were so easy to create and you can create the flowers from the stencils cut them out and use them to decorate your card, tags or layouts. Just another way you can use this fun 5x9 Flowers Layering Stencil along with the Bunnies Chipboard Embellishments Embellishments and the 4 x6 Hello Peeps Stencil
I wish you all a Happy Easter and Happy Crafting.