Followers

Showing posts with label chipboard embellishments. Show all posts

Thursday, October 17, 2024

Vintage Orchard Fall Wall Decor

 Hi Crafty Peeps, 

Hope you all are doing well. Well here in Texas we are getting some nice cool weather, and we are soooo loving it. With Fall coming in I decided to create something fun using October's Scrapbook Kit from Tres Jolie, it is perfect for creating a home decor project. I created a circular Fall Wall Hanging. You can definitely do this on a canvas or place this in a frame or even as a center piece inside a wreath, so many possibilities. Below I have the link to the Scrapbook Kit, there is the step by step below as well as the video tutorial which has a little more detailed instructions on what I did. 


                                                             October Scrapbook Kit                                       


To create this simple Wall Hanging or Fall Decor piece is to get a 12x12 chipboard piece and trace a large circle on it. I used a tupper ware lid and traced around it. You can use a plate, lid or anything you have on hand. My circle is around 8 1/2 inches, you can do yours any size you wish. 


Next I placed half of the circle on top of a pattern paper and traced a half circle. Do this for the bottom piece as well. 


Here is the bottom piece I'm tracing. 


Next cut them out and adhere down. If you have excess paper hanging over the edges in back cut off the excess paper. 


Next I am placing some of the Laser Cut Elements around to see what I would like to embellish my wall hanging with. I did use one of the fences that came in the August 2024 Scrapbook Kit. I used vintage photo ink to color it as a dark brown. 


Next I used one of the leaves from September 2024 Card Kit coloring it with gelatos and used the Clove alcohol ink from October's Mixed Media Kit on it as well. I did blend in 3 different colors on the leave using the gelatos. 


Here is the finished project. I think this is going to look great inside a frame. I love the apple theme and the little gnome is holding a red apple I colored in with a red marker and used glossy accents on top to it would pop out. The yellow flowers are from the October Scrapbook Kit. I really like how this all came together, I hope you all enjoyed it. 


Here are more photos of the Vintage Orchard Fall Wall Decor up close. 


I really enjoyed creating this Fall Wall Decor with the 49 and Market Vintage Orchard Paper Collection along with the Laser Cuts, it is perfect for Fall. I hope you found some inspiration and head on over to the shop to grab your kit before they are gone. 
 Don't forget to post your project on our Facebook Group Page, link is down below.
 For more details you can always view the video tutorial process, which is at the top of the page. 
Thanks again for joining me, I have all the links listed for you throughout the post so just click on the words and you will be taken directly to the store. 

Wishing you all a great day and Happy Crafting. 


Tuesday, August 27, 2024

Oceans of Fun Mini Chipboard 8x8 Album

 Good Day everyone, 

It's Debbie here today with a cute summer 8x8 chipboard album. With summer coming to a close and school getting ready to start. I decided to end August with a cute Summer type ocean/swimming theme using the Clear Scraps Chipboard 8x8 3 tabbed album. I've been wanting to create this album using this paper along with this Chipboard album and I figured this would be a perfect way to end the summer. I hope you enjoy the step by step tutorial and gain some inspiration for your albums. You can always click on the name of the product and go directly to the store.

                                                            Chipboard 8x8 3 tabbed album

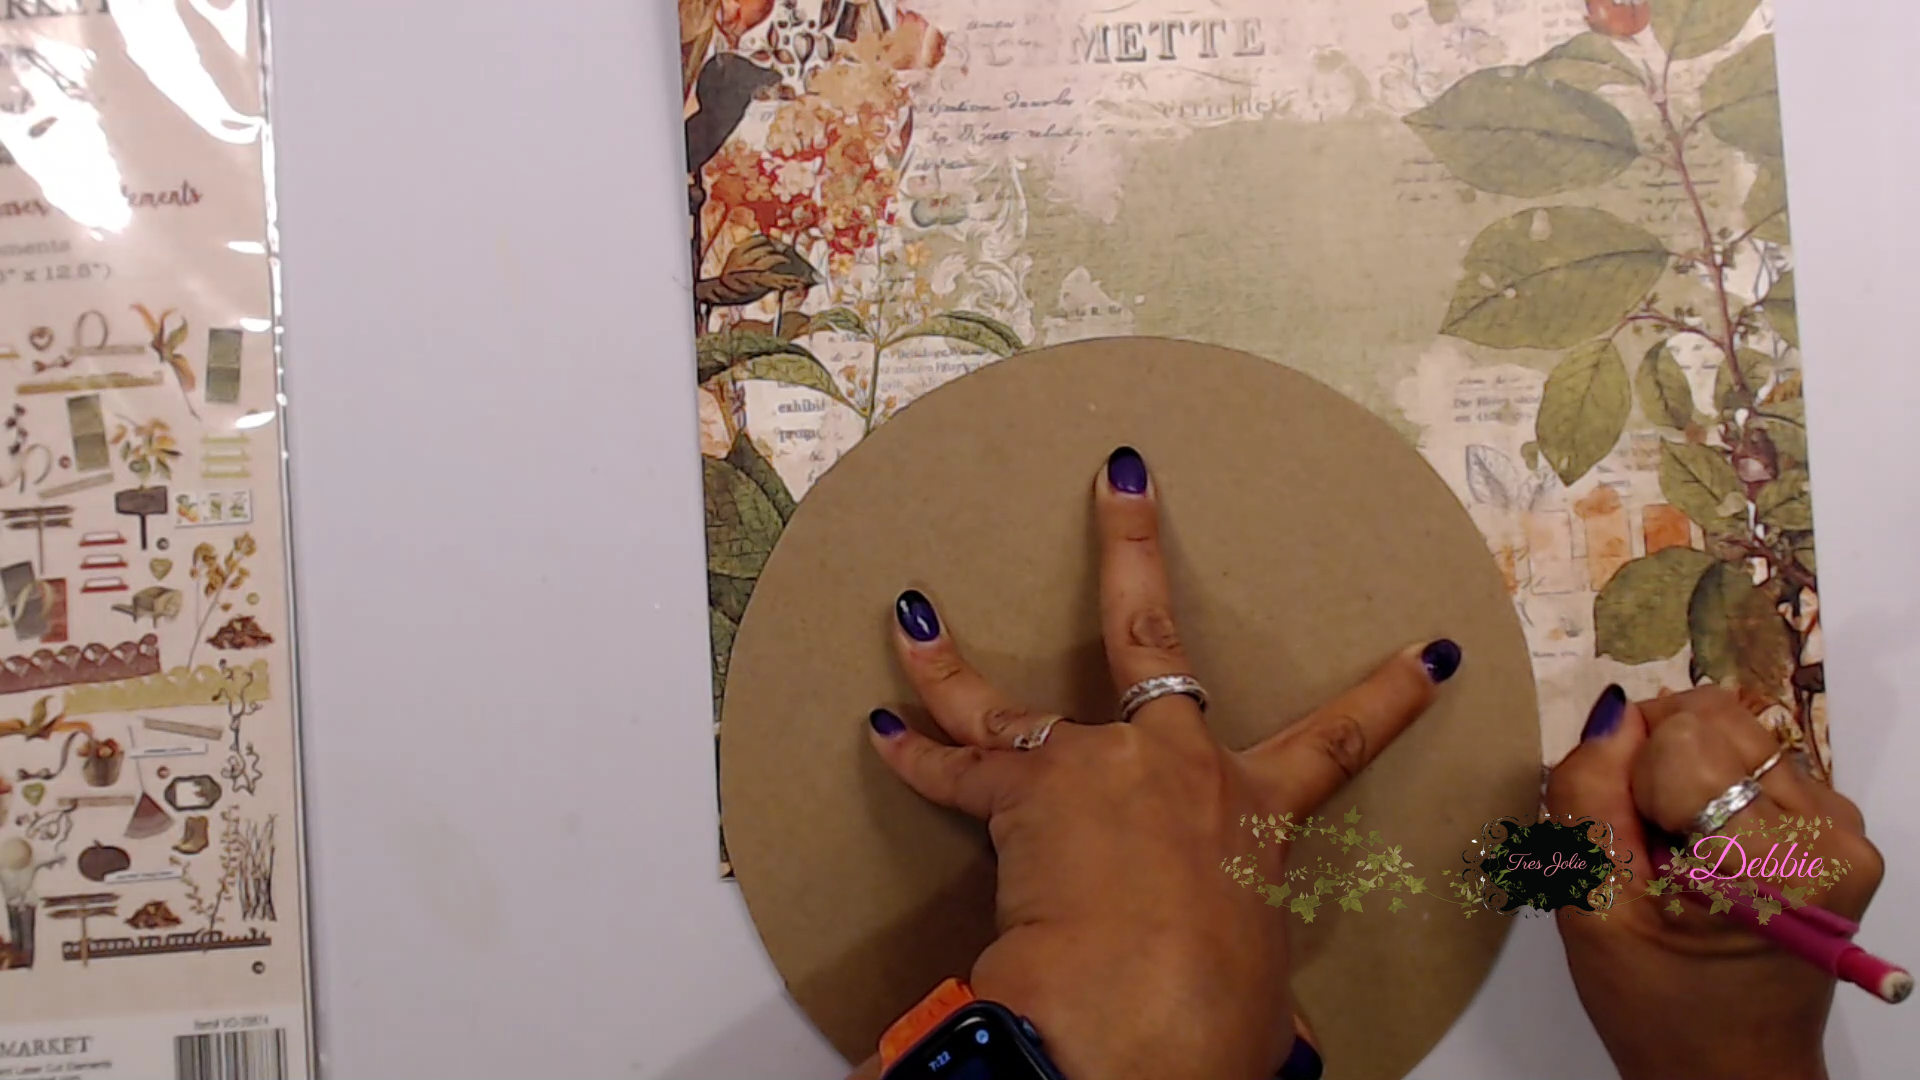
To begin your album place double back tape adhesive to each chipboard piece front and back prior to covering the chipboard mini album pages, unless you are using glue adhesive than do one page at a time.


Here is the one of my chipboard pieces covered and I punched the holes before covering the back of the chipboard page. 


Here are few of the chipboard pieces covered with my pattern paper. 
You will also need to get some metal rings to place through the holes in the mini album. 


Below shows a photo mat I place on the front of the first tabbed page. 
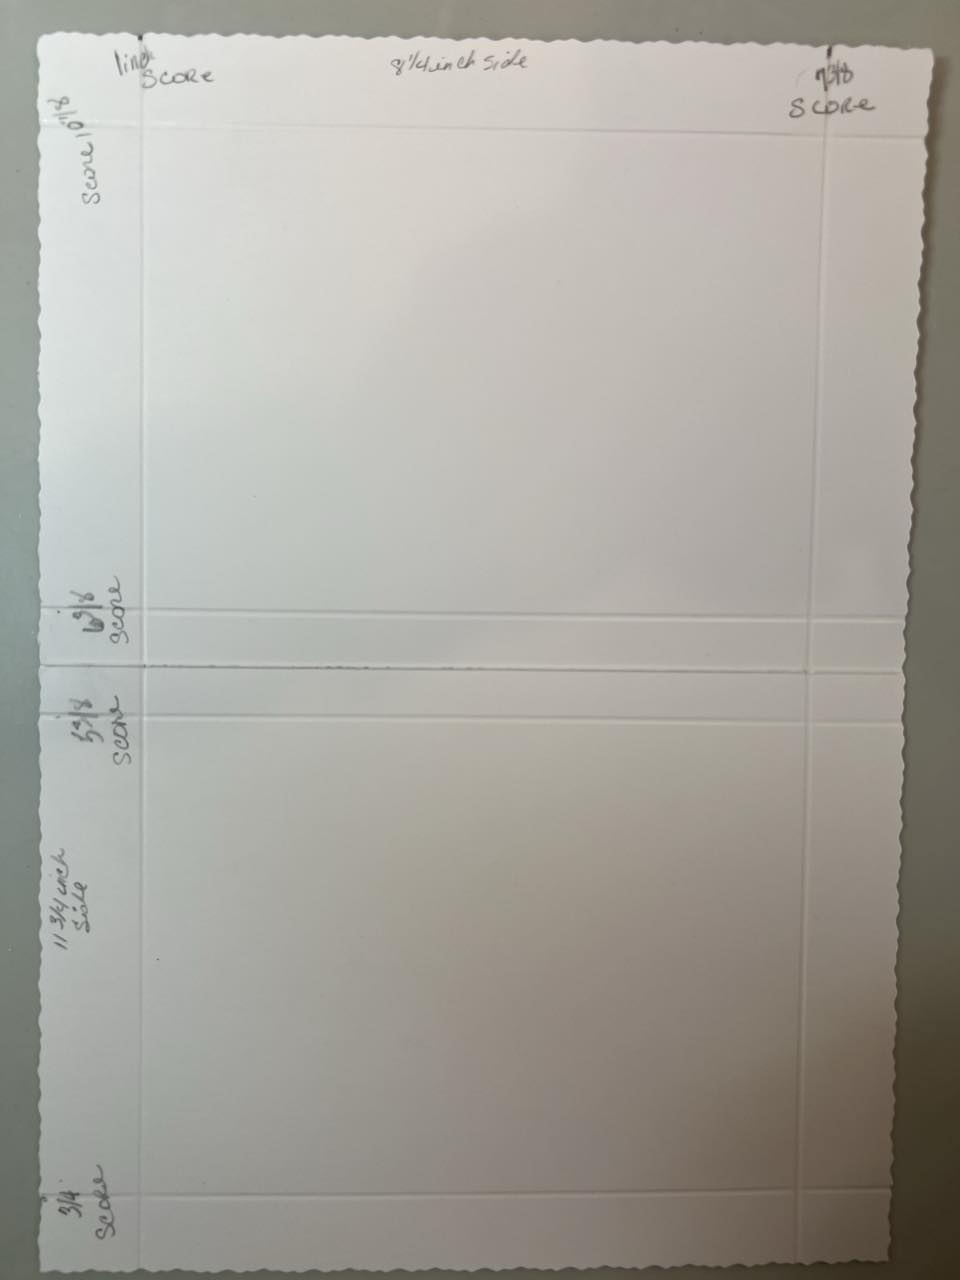
The photo mat measures 4 1/2 x 5 inches.


This page is the back of 2nd tabbed page which has a large flap measuring 7 x 7 1/2 with a 
scored 1/2 inch on the top. 
For the front of the 3rd tabbed page I created 3 small flaps 4 x 3 1/2 inches and scored a 1/2 inch on the 3 inch side. Adhered these down horizontally, you can adhere down vertically as well. You can see more details on my video tutorial. 


For the back page I created a pocket out of the pattern paper I was using, and cut along the curves of the waves on the page. 


Here we are to the fun Mini Shaker Flip Flops. You'll receive 1-acetate piece, 3-frames, 1-back piece.
Glue 2 of the frames together, take the film off both sides of the acetate piece and adhere to the 2 frames you just adhered together. 
The one frame you have left paint or do what ever you would like, and also paper or paint the back piece.  


Here is what I created with these super cute Mini Shaker Flip Flops. I painted yellow, added some glitter on top, papered the back and added the cute little pearl flowers on top of the flip flops. I added my little shaker bits. When gluing together be sure to really burnish everything down. 


Down below I have photos of all the pages I finished decorating with the paper collection. I wanted to share how you can add flips and flaps to these chipboard pages and even add large pockets. 
On the left hand inside page I added two flaps one opens up to left and the other opens up to the right. I did lay down some photo mats behind these. I also cut a little slit following the curve of the blue mermaid flap to create a pocket. 
On the right hand side page, page 2, this is the photo mat I shared above and here it is decorated with some cute stickers from the paper collection. 

Behind the 2nd page, backside, I created two mini pocket flaps that open up, one to the left side and one to the right side. Each one is a pocket using the small cut-a-part card images. The 3rd page to the right hand side is a large pocket that holds a booklet that hold many more photos for 4x6 photos or larger. I have closer of these two pages down below. 

Here is a closer view of the backside of page 2 with the two little flap pockets that open up to each side. I place photo mats behind them, I didn't add magnets to these but you can if you'd like.  You can see in each pocket is a little card inside to add a photo or journal.


Here is a closer view of the front of the 3rd page. You can see the little booklet can slide in and out and you can can large photos or small photos. In this booklet I did add a couple of the cut-a-part cards for journaling. 


Here is the back of page 3 and front of page 4. 
For the back of page 3 I have a large flap. (measurements above) I placed a pocket on the front with a couple of cut-a-part cards inside. Photos below of the inside of the page when flap is opened.
 For the front of page 4 I decorated the little flaps I created and coved the front and back of each on with pattern paper.


Here is what I placed behind the flap. It's a little book adhered to the inside and opens up. I did place a magnet down so the booklet would stay closed. You can see more details of this in video tutorial


Here is the inside when the flap is up I added a large 4x6 mat and decorated.


Now we are on the last pages. Here is behind page 4, which is photo mat and a couple of little mermaids and some little fish with some cute sentiments on the page. 
Now for the last page, which is the back of the book is the pocket I created and inside I placed about 5 of the cut-a-part cards inside for photos or journaling or you could have another booklet placed inside the pocket. 

For the last photo is front of the album. I just think this turned out so cute. I really love the mini shaker flip flops aren't they just adorable on top of the 8x8 Chipboard Mini Album. For Now I left my little tabs blank until I place some photos inside, 


I  hope you enjoyed today's step by step tutorial. I really like how this little summer themed 8x8 Mini Chipboard Album came out, I really think adding the Mini Shaker Flip Flops added a really cute & fun embellishment to the front. With these chipboard albums you can really let your creativity fly and these are so versatile you can use them to create so many things. 
Click here to check out more of the Chipboard Mini Albums that are in the shop. There so many to check out.  
Thanks for joining me today.
Happy Crafting my Friends, 


Join us one facebook and instagram for more inspiration. 

https://www.facebook.com/ClearScraps

https://www.instagram.com/clearscraps/


Monday, July 22, 2024

Fall Chipboard Embellishments MemDex Cards

 Hi everyone, 

I am so excited to bring to you some New Fall Chipboard Embellishments from Clear Scraps. These are New Fall Chipboard Embellishments are so fantastic, they're perfect for Mem Dex Cards, Fall Cards, Scrapbook Layouts and more. I have all the links for the items I used throughout the post. 


To start off you want to punch out all of the chipboard embellishments. 

Next I covered the front and back of the Regular Chipboard Dividers/Mem Dex cards with Fall pattern paper. 

For this chipboard divider I painted 2 coats of yellow paint on the chipboard word pumpkin. I let dry and then rubbed on some orange gelato over the bottom portion. Next I used Orange Embellishment Mousse and covered the pumpkins. I adhered down to the chipboard divider with adhesive. 


For this next divider piece I painted the "Hello Fall" a mustard yellow and green. Once dried I placed some glossy accents over the top of the words. For the acorn I painted the chipboard piece a copper brown and for the top of the acorn I flocked in brown. 


This divider is so pretty. I painted the truck a dark orange color and embellished with stickers from the paper Fall paper collection. 


Here are all three of the Chipboard Dividers using the New Fall Chipboard Embellishments. I think they turned out so great. 

I hope you enjoyed today's step by step tutorial showing how you can use these fun New Fall Chipboard Embellishments to embellish your mem-dex cards, cards, scrapbook layouts and other projects.  To check our these New items just click on the name of each product and it takes you directly to the item in the Clear Scraps Shop. 

Thanks for joining me today.

Happy Crafting my Friends, 


Thursday, July 11, 2024

Easy Card Box Holder for Tres Jolie

 Hi everyone, 

It's Deb here sharing a really easy project using the Tres Jolie July Card Tag and More Kit. I also brought a a few items from the Scrapbooking Kit. I hope you enjoy today's project. I have the step by step tutorial down below as well the video tutorial for you. I have the links and photos below for you to check out both kits, just click the link and it take you directly to the Tres Jolie Shop. 


              Card, Tag and More Kit                                    Scrapbooking Kit


To start out you will use the largest card in the card kit. With the 11 3/4 inch card across the scoreboard Score at 3/4, 5 3/8, 6 3/8 and 10 7/8 inches. 


Turn to the 8 1/4 inch side across the scoreboard, score at 1 and 7 3/8 inches. 


Next fold the 5 3/8 inch score line and fold it back towards the flap, do this for all 4 areas.


See below as the folded part folds on to the same side towards the same scored line. 


You should have a little fold as shown below.

Down below is how all 4 areas should look. You can see video tutorial to follow along.


Next adhere down the flaps. Only the middle section, do not place adhesive past the first score line on the right or left side as this closure area and it will not close if adhered.


Next punch one of the top flaps with rounded corners. Only one side as that side will fit into the rectangular flap. 

For the chipboard leaf vines I used a lt. green and dark green gelato to color them and inked a bit of the grape fruit around them. I added glossy accents to them, set aside to dry. 

I did use the Bee Honey comb wreath using my gelatos to color around it and added glossy accents to them, set aside to dry. 

Here I wanted share with you how the metal dies work. These are so neat as you can place a card that tucks underneath the border. 

I adhered the pretty polka dot pattern paper with an area for my sentiment inside the card. 


Look how wonderful these all turned out. I just love the card box holder. I like that this paper gives you space to stamp a sentiment on it. And I like how everything coordinates well together. One think I would like to say is to not add a lot of bulk to your cards as you will not be able to get many inside and the box may not close very tight. 
I hope you enjoyed today's step by step tutorial, remember I have the video tutorial for your convenience. I had a great time using the Card, Tag and More Kit along with the Chipboard Bee Honey Comb Wreath and a few of the white flowers from the Scrapbook Kit. 
 For more details you can always view the video tutorial process, which is at the top of the page. 
Thanks again for joining me, I have all the links listed for you throughout the post so just click on the words and you will be taken directly to the store. 

Wishing you all a great day and Happy Crafting.