Good Morning Crafty Friends,
I have a fun and simple canvas design for you today. We are using the July 2025 Mixed Media Kit. Creating this canvas was so relaxing, definitely had fun playing around with the mixed media products. I have a step by step down below as well as the video tutorial which has some bonus tips inside. Have fun and enjoy. Links are down below.
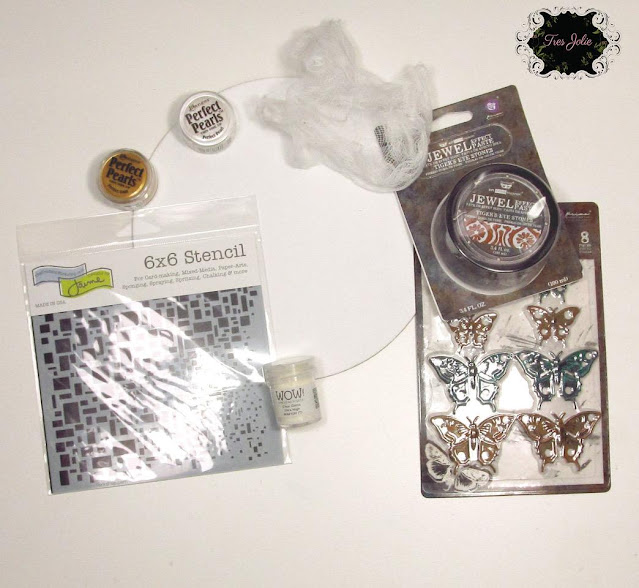
July 2025 Mixed Media Kit
To get started I used a paint brush to place down my mod Podge only on half of the canvas at a time. Be sure to burnish down once you have one side done and then the other side.

After adhering on the rice paper place a little bit of water on the edges of the excess to tear off the rice paper. **view video tutorial**

Next add some clear gesso down on the rice paper to prepare for the Jewel effect paste from the Mixed Media Kit.
So to add a bit of fun I cut a little piece of cheesecloth and placed it in a small cut with a bit of gold perfect pearls and water. Mix a little and set aside for 1-2 minutes.

Next take out the cheesecloth and airdry or you can use your heat tool to dry quickly.

Next I adhered down the cheesecloth around the edges and up onto the canvas area.
**view video tutorial for more details**

After adhering down the cheesecloth I then used the stencil and Tiger's eye stones Jewel Effect Paste to add a bit of texture to the canvas.

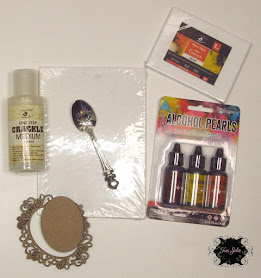
I decided use the torn off portion from the rice paper and adhere to a paper frame from May 2025 Scrapbook Kit. These frames are amazing.

Here is the finished canvas I added the mechanical Butterflies from the MM Kit and I used some flowers along with some sentiments from the Finnabair Sentiment Booklet from a previous kit.
.png)
I hope you enjoyed today's step by step tutorial and are inspired to create a Mixed Media Canvas from the July 2025 Mixed Media Kit. I like the spent playing with the kits as you can be as creative as you want to be. I would love to see what you create with this Mixed Media Kit or anything you have created.
I invite you to please stop by our Facebook page to see what new items our design team has created using our monthly kits.
You can always post your projects on Tres Jolie FB page - Tres Jolie Club Cafe.
Don't forget to post your project on our Facebook Group Page, link is down below.
We would love to see what you create.
For more details you can always view the video tutorial process, which is at the top of the page.
Thanks again for joining me, I have all the links listed for you throughout the post so just click on the words and you will be taken directly to the store.
Enjoy and Happy Crafting.

Don’t forget to follow us on all our social media:
Facebook: https://www.facebook.com/groups/121919621993809/
Instagram: https://www.instagram.com/tresjoliekits/
Tres Jolie website: https://tresjoliekits.com/
Tres Jolie subscriptions: https://tresjoliekits.com/services/


.jpg)
.png)


.jpg)
.jpg)


.png)