Hi Crafty Peeps,
I am so excited to share with my first busted canvas project. For this project I used the November Scrapbook Kit from Tres Jolie. In this kit we used the 3 Quarter Designs Xmas Magic. I have a video tutorial and links down below, plus step by step tutorial. You can always watch the video for more details.
November Scrapbook Kit
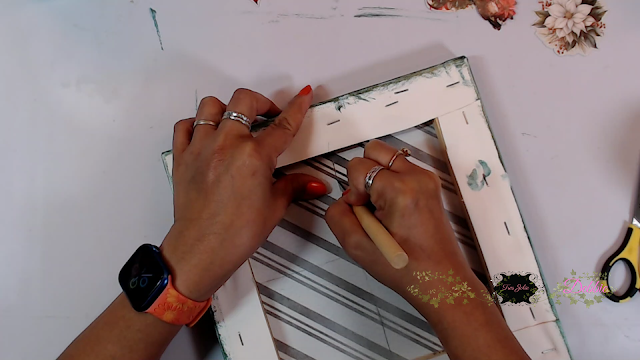
To get started you will need two 10 x 10 canvases. Measure the inside so you can adhere your pattern paper down to the inside. This measured 6 7/8 x 6 7/8 inches. Then place your glue to the inside of the canvas open area and adhere your paper down.

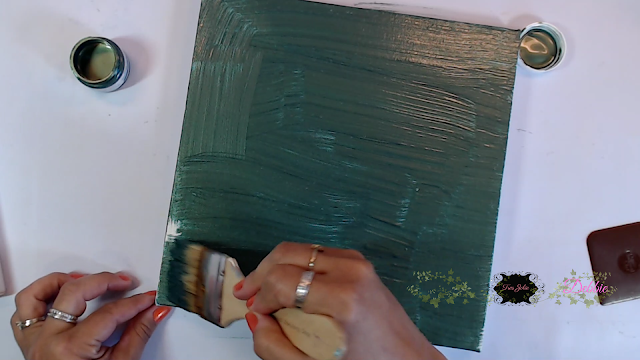
You will do the same thing for the second canvas as well. With your canvases paint the inside of frame area of both of them, as shown below.
Next pick one of the canvases for your top, and paint the top and sides. Set aside to dry.
Once its dry, get your xacto knife and cut one line horizontal and one line vertical in the middle of the canvas.
Then get you scissors and cut in the middle of each flap and you should 8 flaps, as shown below.
For the next part I decided to used glue dots to hold down my flaps as the hot glue wouldn't hold and the flaps kept popping up. The glue dots worked really well. You want to roll the flaps over and place the glue dots (use two glue dots) at the tip of the flap.
Decorate the inside of your canvas. I fussy cut out the train and the solder and placed them inside. Next I did cut the edges off of the canvas you can see here I just away 1/4 inch from the wood and painted. I didn't want any of the white canvas edge showing. I also painted the edges.
Once I was done with decorating the inside I used double back tape 2 inch tape, and adhered it around the border of the canvas, as the hot glue was not working properly.
Adhered on the busted canvas on top and then used a pretty gold ribbon from my stash that is adhered around the seams of the canvases.
I placed a few of the ephemera pieces in the top corners and added in some of the pieces inside. The inside pieces are adhered down to wooden part of the canvas that is like a platform.
I hope you found this Christmas 3D Nutcracker Busted Canvas tutorial inspirational and you get to create one as well. I really enjoyed creating this for Christmas. I will definitely be creating more of these. You can also give these as gifts.
You can find more details viewing the video tutorial.
Don't forget to post your project on our Facebook Group Page, link is down below.
For more details you can always view the video tutorial process, which is at the top of the page.
Thanks again for joining me, I have all the links listed for you throughout the post so just click on the words and you will be taken directly to the store.
Wishing you all a great day and Happy Crafting.


No comments:
Post a Comment